


If you’ve been in the Salesforce ecosystem for very long you’ve more than likely heard of Salesforce Omni-Channel — but what is it and how do you set it up?
Salesforce Omni-Channel is a Service Cloud feature (brush up on the differences between Sales and Service Cloud with our guide). As the name implies, Omni-Channel is “all channels” in that it allows your customer service agents to handle customer concerns via any and all channels with one consistent experience. Let’s unpack that.
What is Omni-Channel?
Customers expect flexibility when getting support – on their terms – more than ever before. Some customers prefer email, some like opening tickets in a service portal, some like SMS or web chat, and others still just prefer the convenience of a phone call.
Being able to provide all of these options to your customers is critical for customer satisfaction, but what about your agents? How are they supposed to juggle customer concerns coming in from all different directions? Enter Omni-Channel!
Salesforce thinks of Omni-Channel in terms of what they call The Three Cs — Complete, Consistent, and Connected. Regardless of the channel, Omni-Channel helps you provide a comprehensive and complete experience for customers, ensures they have a consistent experience, and keeps work connected and unified for your agents to manage.

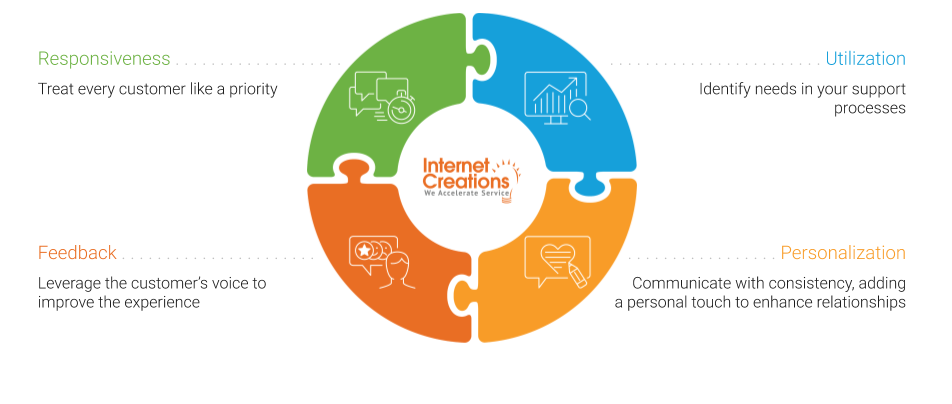
Omni-Channel also addresses the Four Pillars of Customer Service, a model used by Internet Creations, a Salesforce AppExchange, and Consulting Partner. The Four Pillars of Customer Service are Responsiveness, Utilization, Feedback, and Personalization. Omni-Channel addresses these pillars because agents have a centralized location to focus their work and routing assigns the right work to the right agent to get your customers help quickly and provide a personal customer experience.
How Do I Enable Omni-Channel in Salesforce?
Omni-Channel sounds pretty awesome, doesn’t it? But how do you actually set it up in Service Cloud and what are the gotchas you should be aware of? Let’s walk through a basic Omni-Channel setup
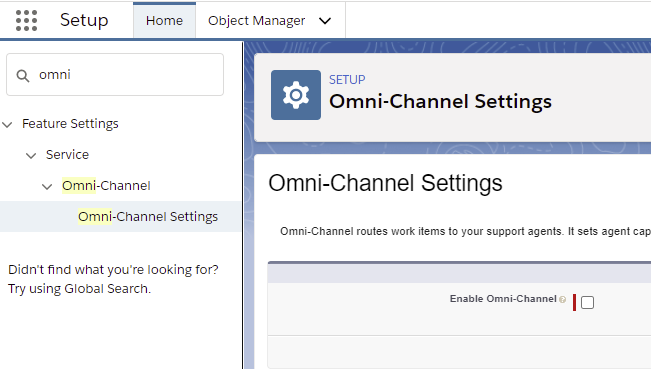
1. Enabling Omni-Channel
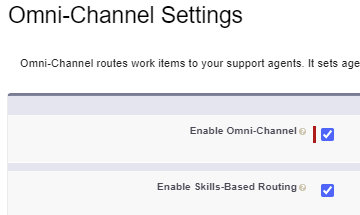
Thankfully this step is pretty easy — you just have to turn the feature on! Go to Setup > Feature Settings > Service > Omni-Channel > Omni-Channel Settings. You can also go to Service Setup > Administration > Omni-Channel > Omni-Channel Settings or just type “Omni-Channel” in Setup Quick Search. Check the box to Enable Omni-Channel and click Save.
2. Omni-Channel Routing
The most important thing about Omni-Channel is routing. There are three routing options with Omni-Channel — Queue Based, Skill Based, and External.
| Queue Based Routing | Skill Based Routing | External Routing | |
|---|---|---|---|
| Features | Agents are assigned to queues and Omni-Channel routes work to those queues. Native Salesforce routing. | Agents are tagged with their skills (such as specializing in a specific product, etc.) and work is assigned based on the skills necessary. Native Salesforce routing. | Uses a third-party tool for the routing logic (such as a third-party CTI) but still has work handled by Omni-Channel. Uses APIs to tie Omni-Channel to the third party tool. |
| Ideal if… | You have a smaller organization or simple product offerings. | You have more complex service issues that require different skill sets across your teams. If not all of your agents are able to address all types of cases. | You have a third party application that already has routing logic and you wish to keep this logic with Omni-Channel. |
Below is a quick setup guide for Queue Based and Skill-Based Routing. External Routing setup can differ slightly depending on which third-party app you’re using. For more information on this type of routing, Salesforce documentation is a good place to start.
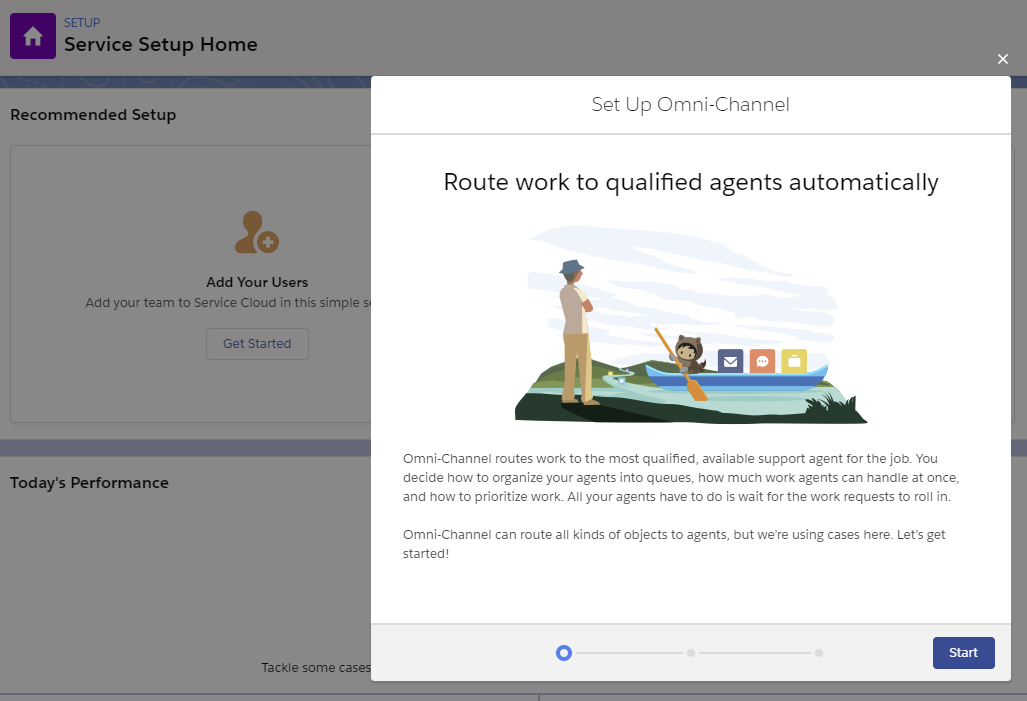
Queue Based Routing
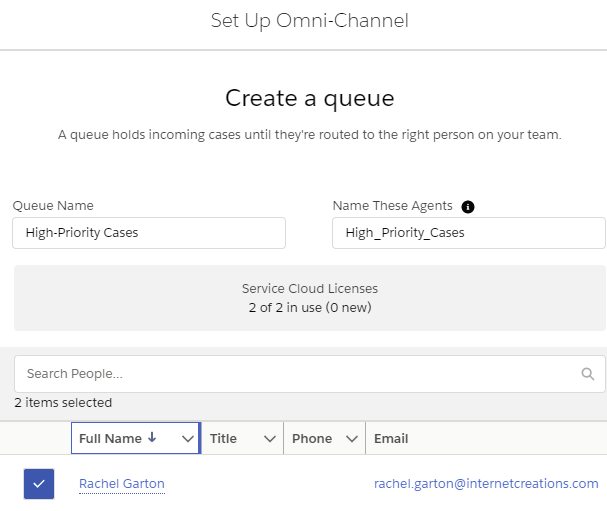
Queue based routing is pretty straightforward and Salesforce even has a handy setup flow to help kickstart the process. In Service Setup, go to the Omni-Channel Setup Flow.
In the setup flow, create a queue and assign agents to that queue. Leave the Agent Workload settings at the default for now.
Skill Based Routing
Skill-based routing can handle more complicated customer service needs, but it’s also more complicated to configure.
- Step 1
The first thing to do is to Enable Skill Based Routing in Omni-Channel Settings.
- Step 2
Next, configure skills for your agents. For the sake of simplicity, let’s use “Programming” and “Mechanical” skills for a fake gadget company. Go to Omni-Channel > Skills in setup. Click New and create basic skills with the names needed. Don’t worry about assigning users yet.

- Step 3
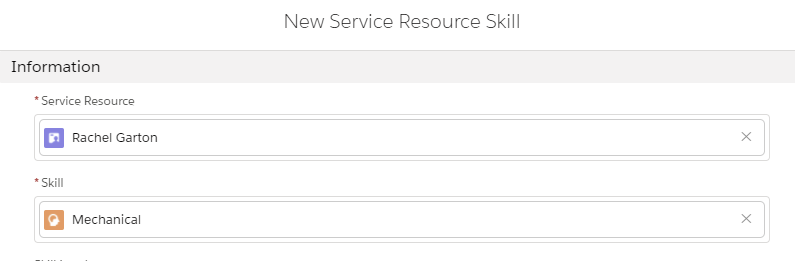
Next we’re going to create Service Resources so that we can link agents (users) to skills. In the App Launcher, find the Service Resources object and create new, Active service resources for your agents.
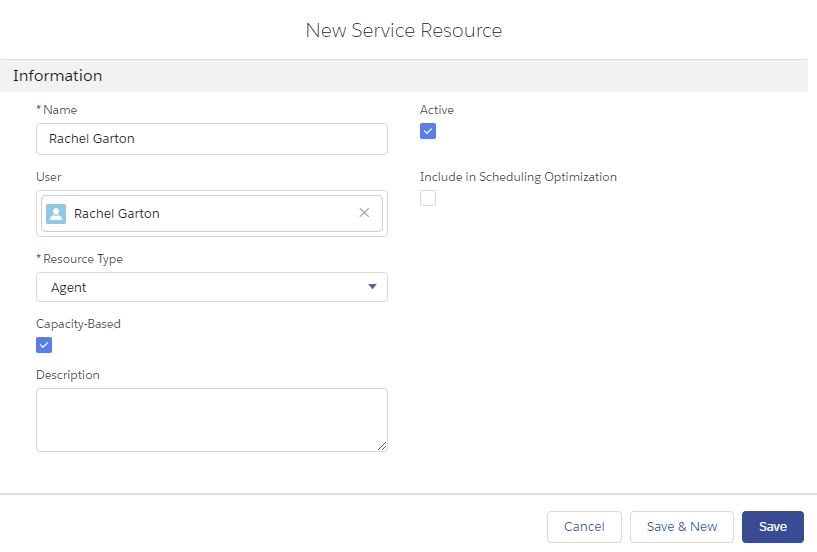
Once created, in the Skills related list add the skills to the resources.
- Step 4
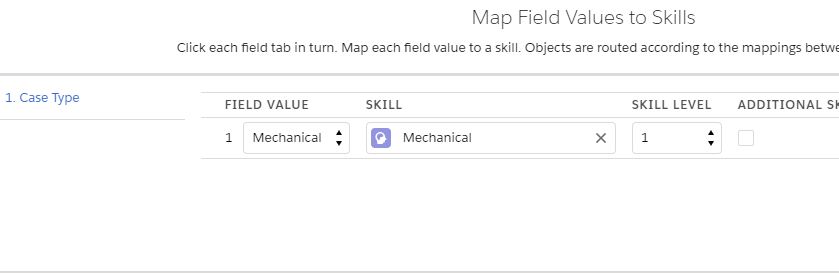
Now it’s time to actually tell Omni-Channel how to use the skills to route work. In Setup, go to Skills-Based Routing Rules and select the New Skill Mapping Set button.
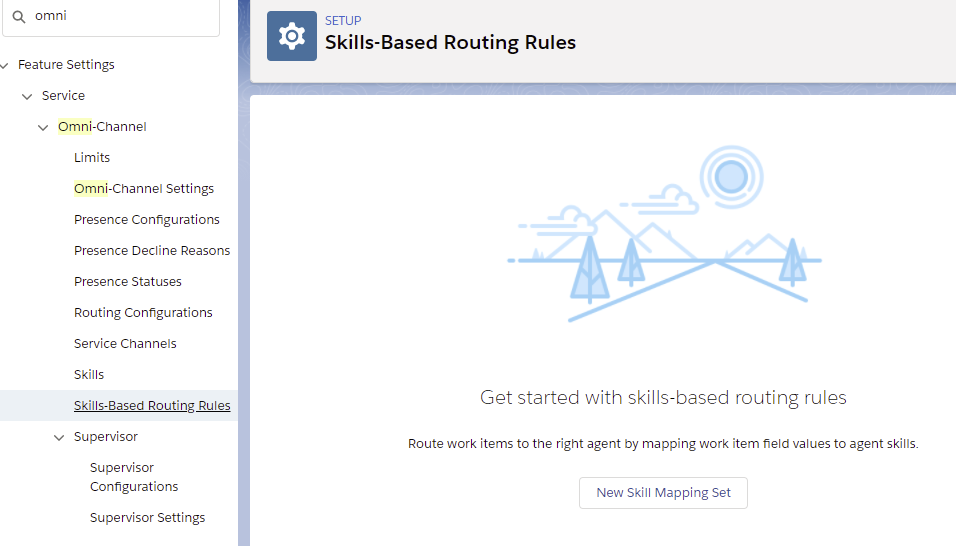
Create the skill mappings to define which field values align to which field requirements. For example, Cases with a Case Type of Mechanical require the Mechanical Skill.
Lastly, just make sure any existing Routing Configurations are enabled to use the necessary skills.

Let’s Test It Out!
You’ve successfully set up Omni-Channel in your org! Now let’s take a look at how agents use Omni-Channel to do their work.
In Service Consoles, there is a Utility Bar item for Omni-Channel. This is where agents log on to Omni-Channel and show themselves as available for work. This is also where new incoming work will display for agents to grab.
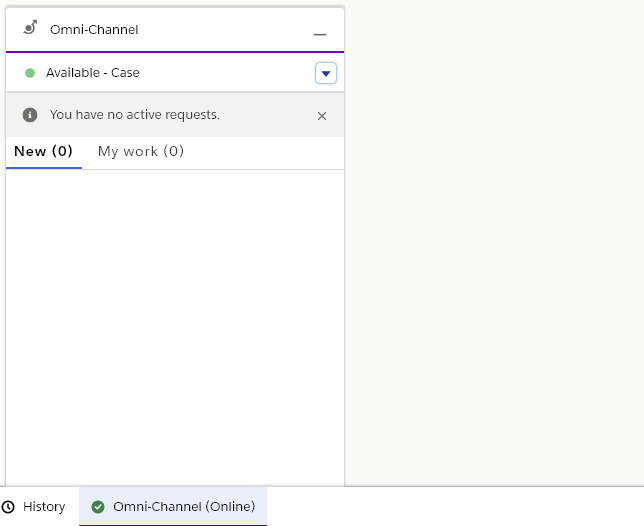
When a new case comes in and is routed to an agent’s queue (and if they’re eligible when using skill-based routing), then they will get an audio notification and the work will appear in their Omni-Channel window.

Agents can select to take on the incoming work, whether it’s a case, chat, SMS, or phone call!
Why Omni-Channel is Important in Salesforce
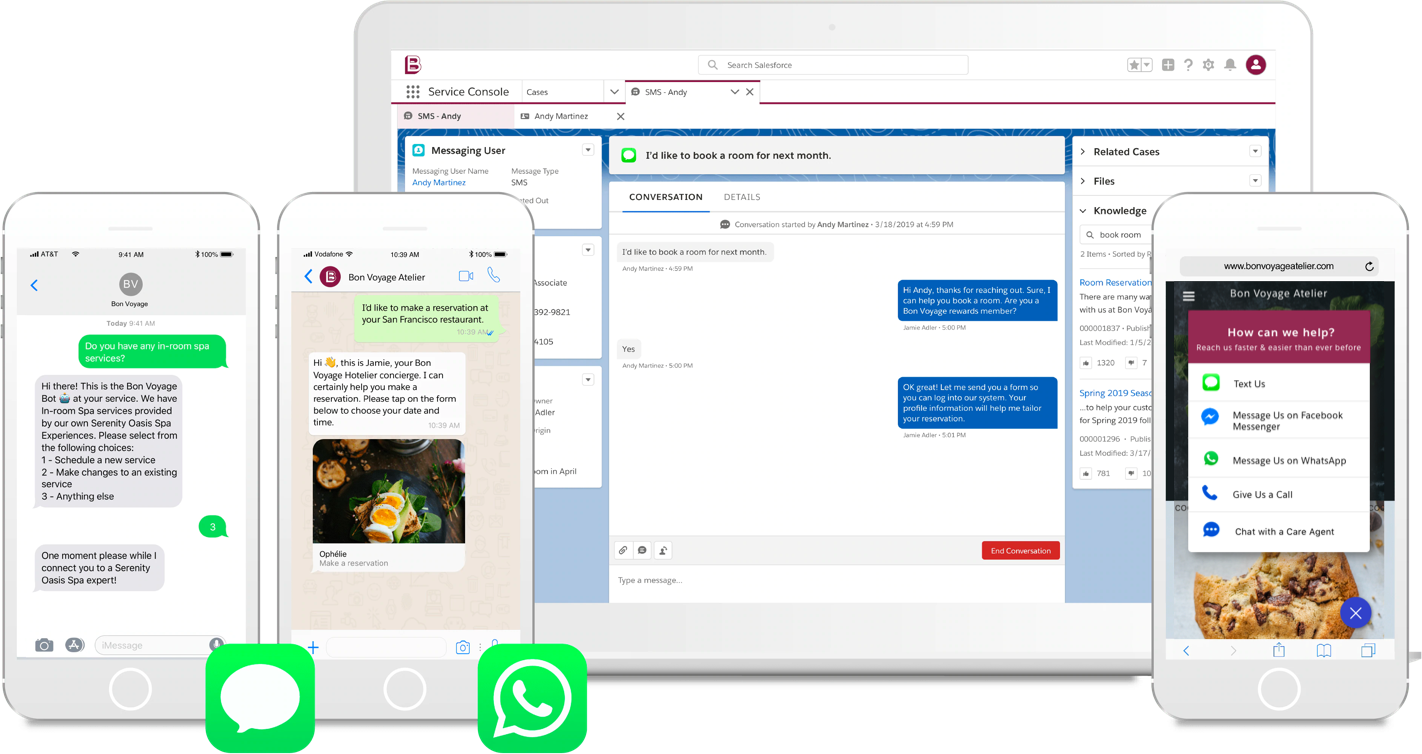
With Omni-Channel enabled and configured, you can now roll out multiple support channels for your customers! Salesforce offers native Live Chat, which can be embedded on any webpage, not just Salesforce pages. Salesforce offers native SMS support so your customers can text from their smartphone while your agents stay in their Salesforce console. Salesforce has also rolled out Service Cloud Voice, which is their CTI tool for handling and routing incoming calls through Salesforce.
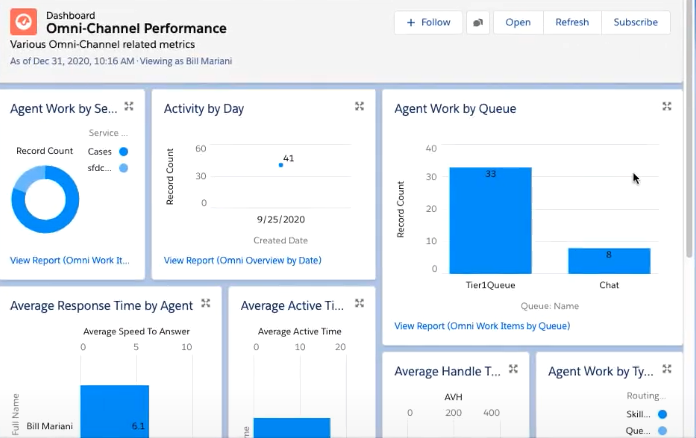
Omni-Channel includes ways you can monitor agent work performance and maximize efficiency. The Omni-Channel Supervisor feature.
The Omni-Channel Performance Dashboard is also a great, free add-on with pre-configured reports and dashboards for omnichannel.
Omni-Channel also touches on Salesforce’s newly announced Service Cloud Workforce Engagement.
Learn more about Omni-Channel
If you want to learn more about Omni-Channel and get hands-on with your own Omni-Channel implementation, Trailhead is a great resource!


Comments: