


Have you ever wanted to get rid of the “Recently Viewed” list view in Salesforce? Well, you’re not alone. One of the most common feature requests of all time by the Salesforce Trailblazer Community is to give users the ability to default list views.
In this article, we will walk through a couple of ways to default list views using standard Salesforce functionality that can be set up in minutes. Let’s take a look…
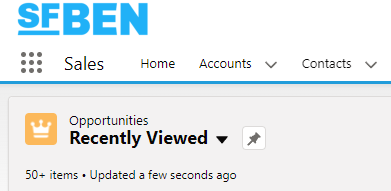
1. Pinned List Views
First up, we have Pinned list views. This simple but effective feature was delivered in Spring ‘19 and allows individual users to select which list view appears first when they select an object.
To “Pin” a list view, Salesforce users simply need to navigate to their object of choice, where they will be presented with the pin icon next to the list view.
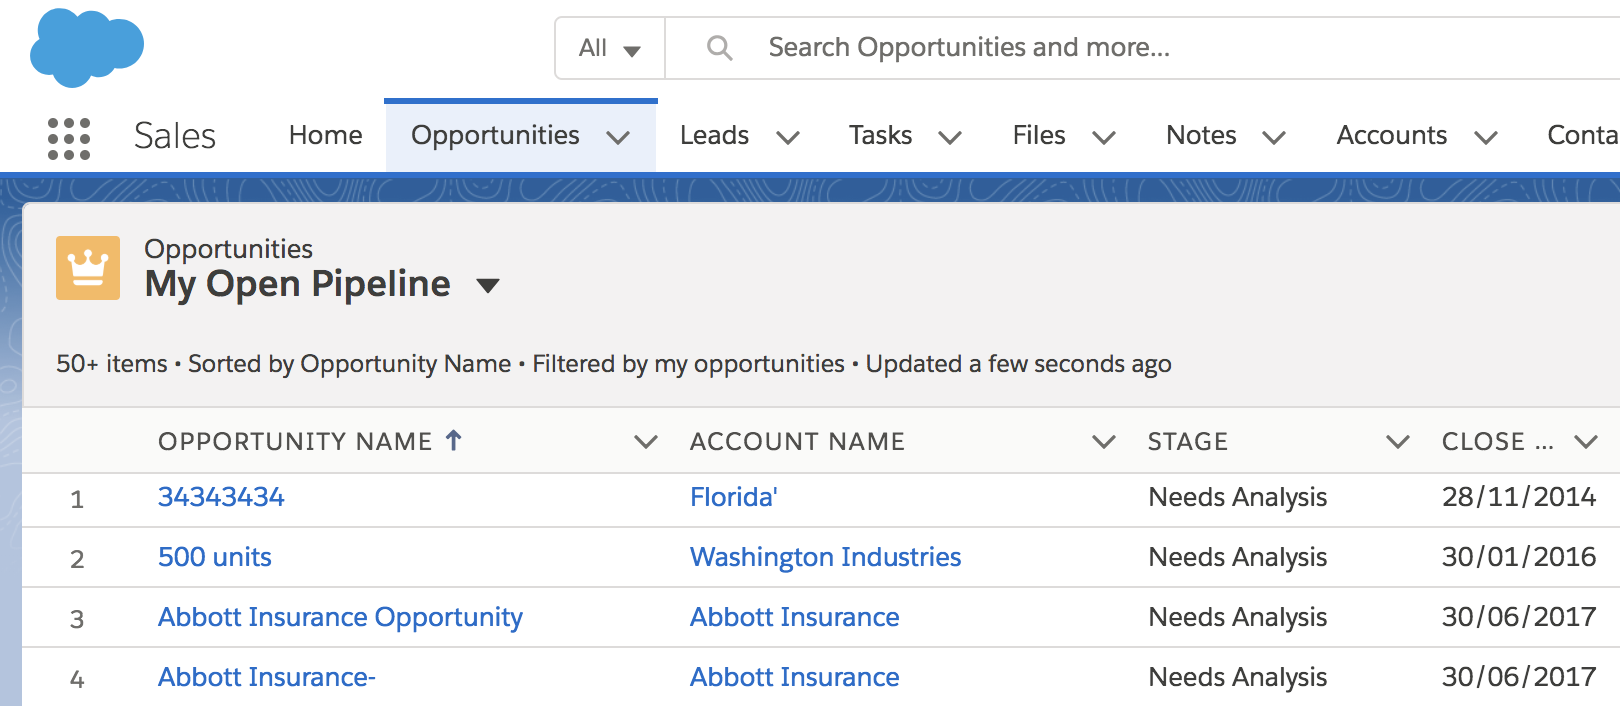
Once you select which list view you want to pin, hit the pin icon next to the related list. Once selected, the next time the user returns to the object tab, the related list they selected will be pinned, just like the below…

2. Default List View as a Tab
Default list views can also be easily added to your Salesforce Lightning experience navigation bar. This can be useful if you want to add multiple default list views per object.
This feature takes advantage of Salesforce Lightning’s easily customizable navigation bar, which can be changed in a number of different ways.
Read more: Top 10 Salesforce Tips for 2021 to Supercharge Productivity
- Firstly, select the list view you would like to default within the navigation bar…
2. Next, select the drop-down arrow next to the object to show more options. Click on the bottom menu item that allows you to open the list view in a new tab.

3. If you look at the end of your navigation bar, you should see the tab you have just opened. Click on the arrow again and add this list view to your navigation bar.
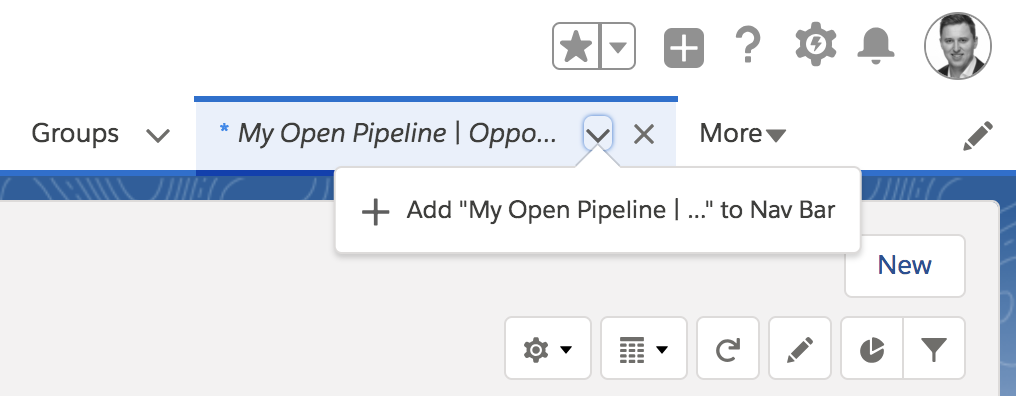
Once this has been completed, you have successfully added a list view to your navigation bar. But to further ensure this is optimised and is correctly placed, you can select the pencil icon on the right-hand side of your navigation bar.
Here you will be able to move your list view to the optimum position, as well as rename it to your liking.
3. Default List View on the Home Page
After reading this post, you might be asking yourself “How do I Pin list view for all users in Salesforce?”. Well, unfortunately, Salesforce has disabled this feature on purpose. You can read more about this on the original Salesforce idea here.
However, we’d like to present an alternative solution that allows you to default a list view for a particular group of users, using the Lightning Experience App Builder and creating a custom home page.
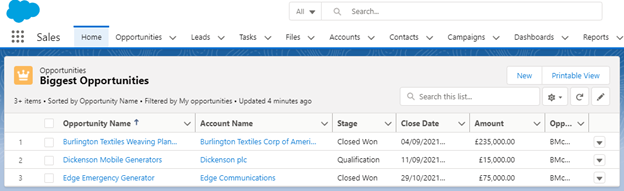
As you might already know, creating a custom home page using the Lightning Experience App Builder allows you to define which components are shown. If you select the “List View” component, then you can select the list view that is shown by default.
To get more information on how to create a new home page using the Lightning Experience App Builder. Check out this great tutorial from Salesforce
Conclusion
With Salesforce Lightning, there are a whole host of features that go beyond what Salesforce Classic was capable of. I hope that this article has quickly helped you to solve an age-old Salesforce problem for you and your users. Make sure to sign up for our newsletter to get other Salesforce hacks delivered to your inbox!


Comments: