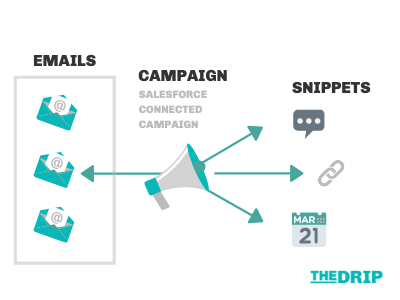
Introducing Snippets: a reusable block of text, image, date, or links that can be pulled into multiple Pardot emails, forms and landing pages. Snippets centralise content, in practice, this means that you will only need to make any updates in one place (called the Snippet Editor), and bam – all emails/forms/landing pages using that snippet will be updated.
You may have seen the notification banner in your Pardot account announcing Snippets (coming as part of the Winter ’20 release) – what’s great, is that Snippets are easy to get started with straight away, with minimal setup effort (providing you meet the pre-requisites!).
Here’s a tutorial on how to create your first Snippets, including 3 example use cases that will provide immediate value. Then, a walk-through on how to enable this feature for your team; but first, let’s cover the basics of what you need to know.
Snippets: What You Need To Know
- A Snippet is only available to use in Pardot Emails and Email Templates – and these emails must be related to one campaign.
- Snippets come in 4 formats: Text, Image, Link, Date.
- Snippets are created and managed from the Salesforce Campaign interface. They are accessible through the “Snippets” tab in the Pardot Lightning App also.
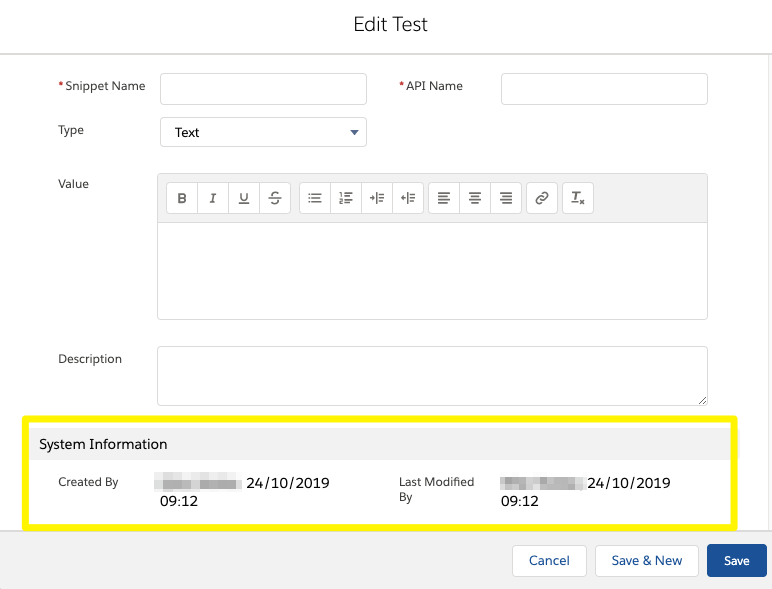
 Snippets are records in their own right. Aside from prime use cases (which I will cover later), Snippets come with system fields, such as Created Date, Created By, Last Modified Date, Last Modified By, which all make version control easier when trying to figure out whether the information contained in the Snippet is up to date.
Create Your First Snippet
As I mentioned above, Snippets are best created and managed from the Salesforce Campaign interface. When you/your Admin has done the setup, Snippets will appear on the page, like below:
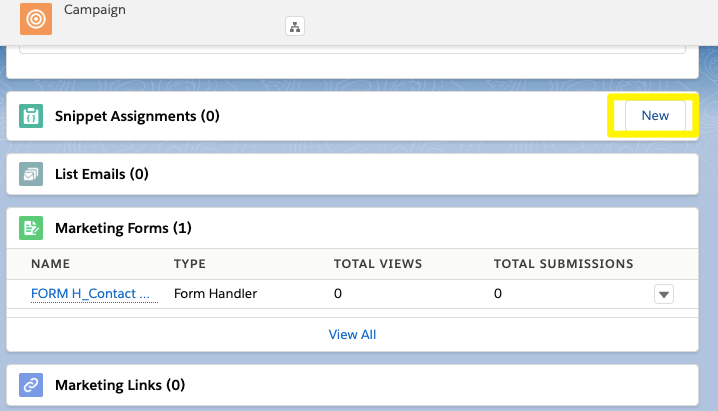
The ‘Assignment’ box will be pre-populated with the campaign you just launched from. Click “+ New Snippet”:

Once you customise and save, it will appear on the campaign page:

Snippets are accessible through the “Snippets” tab in the Pardot Lightning App also, but creating Snippets there will mean they are ‘orphaned’ (not attached to a Salesforce Campaign, and not usable in any Pardot emails) – so I would avoid doing this!
Apply Your Snippet
Every email in Pardot must be associated to a (connected) campaign. When you create your email in Pardot, select the correct campaign.
In the Email Builder, open the merge picker (HML-only) by clicking the ‘Merge Fields’ button, and you will see “Snippets” in the list:

The Snippet will appear in the email body surrounded by {{ }}.
4 Perfect Use Cases
- Engagement Studio Emails: this is a recurring headache for Pardot users – Engagement Studio must use email templates, which exist independent from one another. When you need to update a template, each template must be edited, one-by-one. Using Snippets instead will mean you can edit from the Snippet editor, and those changes will be rolled out to each template using the Snippet!
- Email Banners: switch out header images in your emails by using image Snippets.
- Client Testimonials
- Event Location
- Webinar Registration Links: for recurring webinars that are continuously promoted, one after the one.
Setup Prerequisites: Before You Start
There are 3 features you need to enable first before jumping into Snippets. If you have kept on top of each release, you should be fine to continue:
- Pardot Lightning App: What is the Pardot Lightning App?
- Connected Campaigns
- HML (Handlebars Merge Language): What is Handlebars Merge Language (HML) for Pardot?
Step 1: Add to Campaign Page Layout
Edit your campaign page layouts by going to Salesforce Setup.
Search for ‘Campaigns’ in the Object Manager.
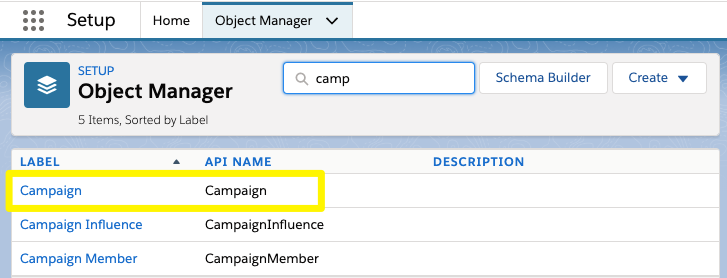
Go to Page Layouts:
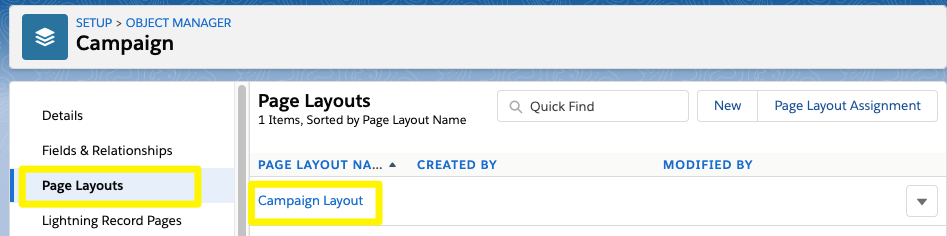
Then, drag and drop the “Snippet Assignment” related list on to the layout:

Step 2: Give Users Tab Access
You’ve added the place where Snippets will be managed from Campaigns. As I mentioned, Snippets are also accessible through the “Snippets” tab in the Pardot Lightning App, so you need to give visibility to that tab to users.
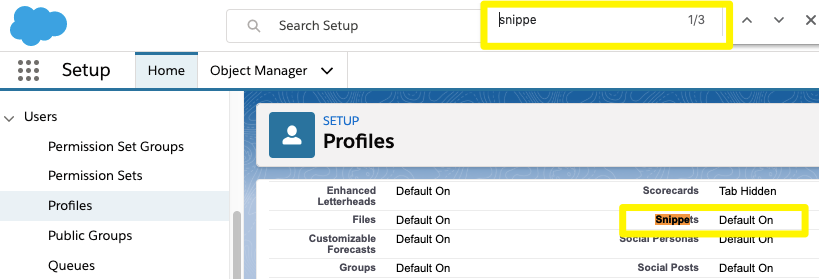
Stay in Salesforce Setup, and search for Profiles. You may recognise some of yours in the list below:

First, check if the Tab settings – this should be set to ‘Default on’. I find that the best way is to navigate is to use CTRL+F to find what I’m looking for.
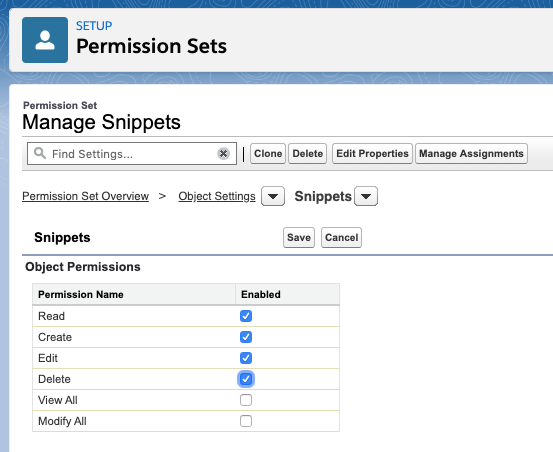
By default, the System Admin will have both Tab visibility, and CRED (create, read, edit, delete). For other profiles, check their “Object Settings”.
You/your Admin may find that most efficient way could be to create a Permission Set, a flexible Permission that can be applied to apply to specific users if they are spread across multiple profiles. There’s plenty of advice online about how to create permission sets, but it will look like this:
NB: Always check with your Admin first, and consider maintenance above all else.
Take it a step further. You can head to the Lightning App Builder, and rearrange your Navigation Items however you like (add, remove, move up, move down), as I’ve done below:

Summary
This post only scratches the surface with Snippets. These reusable blocks of text, image, date, or links can finally save marketers time and prevent headaches by rolling out email content changes efficiently (and without leaving templates in the dark!). Centralising email content will have the greatest impact for managing Engagement Studio programs, that can only use email templates (which exist independent from one another) – now, you will only need to make the update in the Snippet editor, and bam – all emails using that snippet will be updated!
Check out the other enhancements coming as part of the Winter ’20 release.
