

Earlier this month, Salesforce announced that customers can use Data Cloud, for free (for up to 10,000 unified profiles). This is what’s known as a zero dollar SKU – in other words, a Salesforce product line that doesn’t incur any costs. September 19th marked the date that you could get started with Data Cloud via the “Your Account” section of your Salesforce org – although the roll-out was not instant for all customers (for example, it became available in our EMEA instance two days later).
While this was exciting news for many Salesforce customers around the globe – those who could get their hands on a previously mysterious Salesforce product at least – there have been several experts in the field who have advised on how we should keep our expectations in line, while clearing up a number of misconceptions about Data Cloud.
This guide will walk you through how to enable Data Cloud, and also the important questions: who can use it? Just because you can, should you use it? And also, what you won’t have access to until you upgrade from freemium to paid Data Cloud.
Who Can Use Data Cloud for Free? (And Why You Should Use It)
Before we get started, there are a few prerequisites to check so that you don’t bump up against any issues:
- At the time of writing, Data Cloud is reportedly only available for orgs that are located in North America and EMEA. “Please reach out to your account team to discuss what options are available…For APAC and JP customers, account team should provision customers with an org located in the United States” (source).
- You must be a Sales Cloud or Service Cloud customer on Enterprise edition, or above (so, this also includes Unlimited edition).
- To check your org’s edition go to Setup → Company Information. Organization Edition is found on the right-hand column.
- You must activate Data Cloud in your production org – in other words, it’s not available for Sandboxes.
- Alternatively, you can sign up for a Salesforce trial (either Enterprise or Unlimited edition) and activate Data Cloud there.
- You will need to provision Data Cloud via the “Your Account” section of your org.
- To access this, you will need the “Manage Billing” permission on your user profile, or enabled via a permission set. System Administrators have this enabled already.
- To check your profile, go to Setup → Users. Find your user record, and click on the hyperlinked profile. The “Manage Billing” permission is found under Administrative Permissions. If this is not checked for you, create a permission set.
- To check the permission sets assigned to your user, hover over the Permission Set Assignments sub-tab on your user record.
Arguably, what’s more important is that you acknowledge what Data Cloud does, and the use cases you’re hoping to achieve with it.
Data Cloud comes with its own concepts, and therefore, a learning curve – so, you should be clear on its purpose before you enable it in your org. This is a basic overview; we will revisit use cases in a future article.
- The purpose of Data Cloud is to combine a range of data points, from various data sources. This data can be both demographic and behavioral – for example, mobile app engagement, e-commerce purchases, customer support cases. We will revisit the concept of unified profiles in the next section.
- Data Cloud does not actually merge records.
- Data Cloud generates segments that can be ‘activated’ among different Salesforce products, such as Marketing Cloud and Flow (for the core platform products). Think of segments as the fuel that powers the engines.
- Data Cloud is not designed to store masses of data from various data sources. This is why a data lake/data warehouse is required.
Thanks to Timo Kovala for sharing these, and other, misconceptions so clearly (be sure to follow him!)
Read more:
- What is Salesforce Data Cloud? Data Cloud vs Salesforce CDP
- Salesforce Data Cloud-Triggered Flow: A Quick Guide
Data Cloud Credits (And What They Actually Mean)
Data Cloud is a usage-based product, meaning that you pay for what you use. There’s a difference between the credits you’re awarded, and how that translates into ‘unified profiles’.
A unified profile combines a range of data points, from various data sources. This data can be both demographic and behavioral – for example, mobile app engagement, e-commerce purchases, customer support cases.
Note how this is a unified profile. The terminology here is important, as Data Cloud unifies records and does not merge them. While they are combined data points, the source records (where the data has come from) still exist as they were.
So, when you pay for credits, you’re paying for the processing power to unify data from various sources. Hence why the number of unified profiles is ‘approx’, as some organizations will be more demanding than others in terms of their data unification.
Note: Unified profiles have been calculated based on 25 credits per unified profile.
| Data Cloud Edition | Sales Cloud/Service Cloud Edition | No. Data Service Credits | No. Unified Profiles |
|---|---|---|---|
| Data Cloud Free | Enterprise edition and Unlimited edition | 250,000 | 10,000 approx. |
| Data Cloud Free | Unlimited Plus edition | 2,500,000 | 100,000 approx. |
| Data Cloud Starter | Enterprise edition and above | 10,000,000 | 400,000 approx. |
| Additional Credits | Enterprise edition and above | Contact your Salesforce Account Executive. | - |
Enable Salesforce Data Cloud
Step 1: Your Account
Provided you checked the prerequisites, you should see Your Account when clicking on the cog icon.

Click Browse and Buy.

As you land on the page, you will see the products your organization has. Scroll down to All Products, where it’s likely that Data Cloud will be first in the list. Click Add to Cart.


You will be asked how you want to sign the zero-amount order form/contract. I chose to sign it via email, which sent the eSignature contract through.

However, provisioning does take some time. Upon signing the order form/contract, I did not receive confirmation or access to Data Cloud Setup. See the section: Troubleshooting Data Cloud Enablement.
Step 2: Assign Permissions (Data Cloud Admin)
Once provisioned, you will receive an email with the subject line ‘Welcome to Data Cloud!’.

The Data Cloud permissions will only become available after Data Cloud is “purchased” (albeit for a zero-dollar amount) and provisioned in the org.
There are two types of Data Cloud permission sets:
- Data Cloud Admin (this step), which gives access to Data Cloud Setup.
- Data Cloud User (step #5).
You can check whether these are available in your org by going to Salesforce Setup, searching for ‘permission sets’, and viewing the list.

To add the permission sets to your user record, go to Salesforce Setup and search for ‘users’. On your user record, hover over the Permission Set Assignments sub-tab, and click Edit Assignments.
Move the Data Cloud Admin permission set from the left-hand list, to the right.

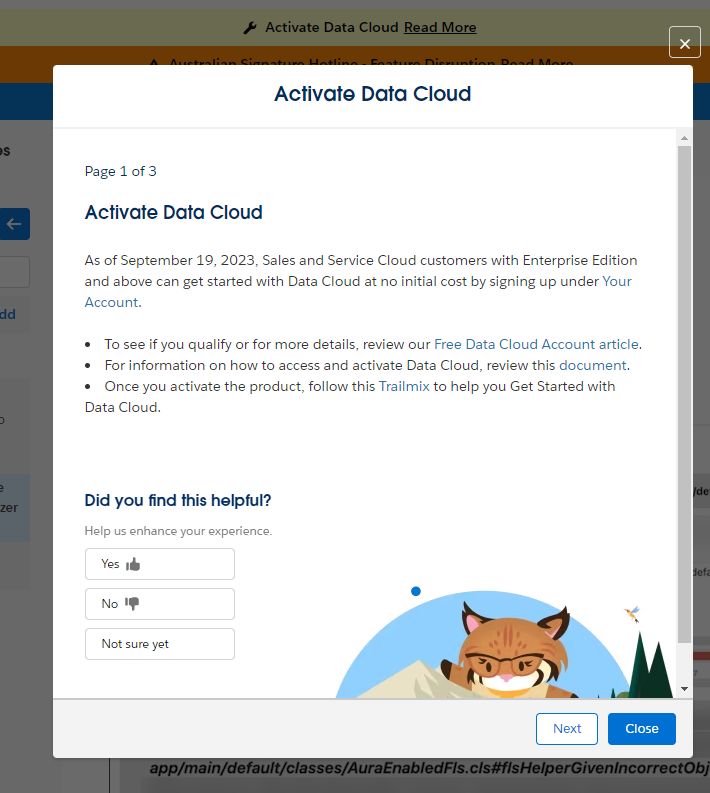
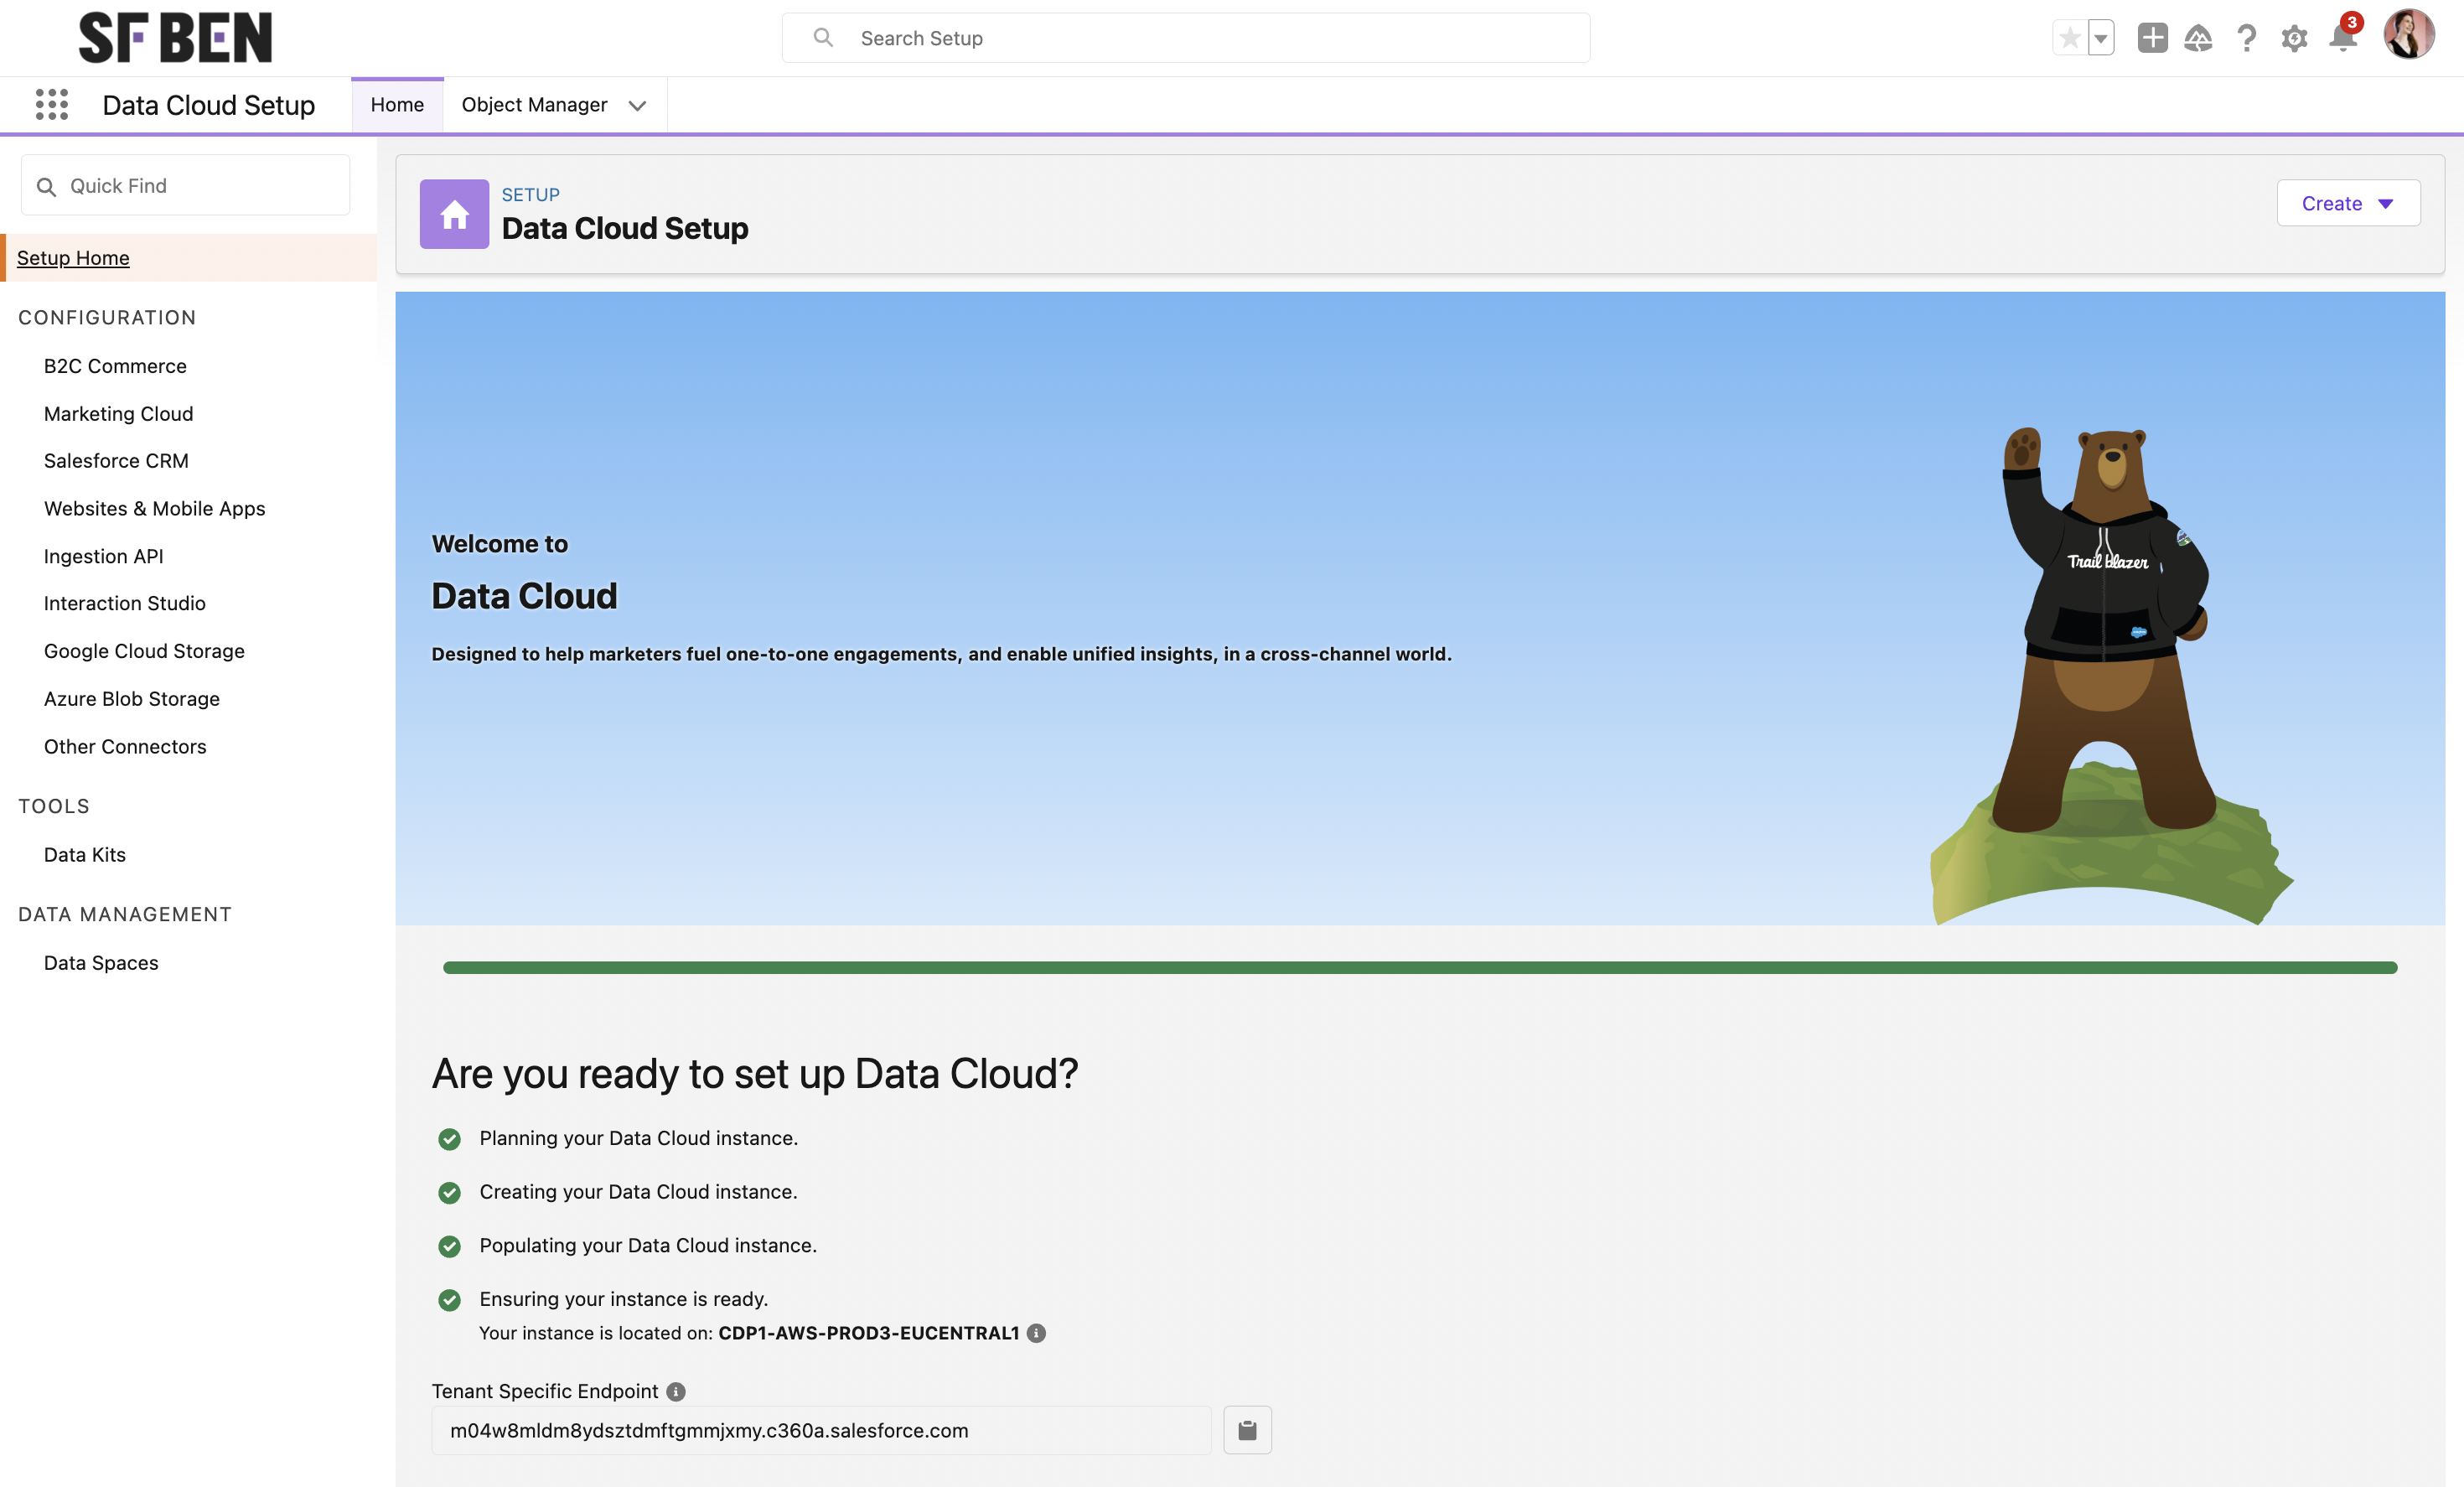
Step 3: Data Cloud Setup
Alongside Salesforce Setup, you will now have Data Cloud Setup accessible from the cog dropdown.

Visiting this for the first time, you should land on the guided setup page. When you start the process, each of the steps will be checked off (you don’t have to do anything). This process took approx. 15 minutes in our org (which is likely less complex than the average org!).
Step 4: Connect Data Sources
After the guided setup process has completed, you will be redirected to the page to connect Marketing Cloud with Data Cloud. Our organization doesn’t use Marketing Cloud, so this threw me off somewhat!
However, in the sidebar of Data Cloud Setup, you can see a number of other data sources. I chose Salesforce CRM.

Step 5: Assign Permissions (Data Cloud Users)
In step #2, we assigned the Data Cloud Admin permission set to yourself (which gave you access to the Data Cloud Setup menu).
The Data Cloud User permission also needs to be assigned.
To add the permission set to the correct user record/s (one-by-one):
- Go to Salesforce Setup and search for users.
- On the user record, hover over the Permission Set Assignments sub-tab, and click Edit Assignments.
- Move the Data Cloud Admin permission set from the left-hand list, to the right.

To add the permission set to the correct user record/s (a few users at a time):
- Go to Salesforce Setup and search for permission sets.
- On the permission set record, click Manage Assignments.
- Move the relevant users from the left-hand list, to the right.

To add the permission set to the correct user record/s (multiple users, with the same profile e.g. the Marketing User profile). As you cannot add a permission set to a profile, you will need to:
- Pull a user report of all users with that profile, including the User Id field.
- Export the report. Change the User Id header to Assignee Id, and create another column for the Permission Set Id.
- Go to the permission set in Salesforce, and copy the Id from the URL (the alphanumeric string, e.g. 2F0PP9e000001AH2x).
- Paste the Permission Set Id into the Permission Set Id column in your exported sheet.
- Using Data Loader, do an PermissionSetAssignment insert.
What’s Not Included in Data Cloud Free
There are a number of capabilities that you won’t have access to unless you upgrade to Data Cloud Starter (the paid edition of Data Cloud).
- Segments and Activations: “Activation is the process that materializes and publishes a segment to activation platforms…You can create segments on any entities from your data model, and then publish them on a chosen schedule or as needed” (source). Essentially, you are taking your unified profile data beyond your Salesforce org, and utilizing this data to have an impact on your customer experience (i.e. using it for the customers interface with, to determine how the platforms behave).
- Data Services: This is to up the number of credits you have to generate unified profiles, purchased in blocks of 100,000 credits.
- Ad Audiences: Similar to the “Segments and Activations” point above, this relates to utilizing the data across advertising platforms, to make the advertising that appears to customers/prospects highly contextual to them.
- Data Storage: This is to up the storage you have, priced per 1TB.

Troubleshooting Data Cloud Enablement
Provisioning does take some time. I saw somewhere that this would take around 30 minutes. Upon signing the contract, I did not receive confirmation or access to Data Cloud Setup.
However, in my case, it still had not been provisioned overnight, and when I went to re-add the SKU, I received an error.
At a loss at what to do, I decided to leave it be. The provisioning process for us completed 24 hours after the signed order form confirmation came through.

Summary
Earlier this month, Salesforce announced that customers can use Data Cloud, for free (for up to 10,000 unified profiles). This guide has walked you through how to enable Data Cloud in four steps.
This was exciting news for many Salesforce customers around the globe who could get their hands on a previously mysterious Salesforce product – however, we should keep our expectations in line for what Data Cloud can actually do.
We’ll be releasing plenty more content as we explore Data Cloud and its practical application – keep your eyes open so you can join us, as we explore further.
