I love Salesforce Flow. Every time the Salesforce release notes drop, I get straight to reading them because I know that each major update will have new features for Salesforce Flow – sometimes stacks of cool new improvements around the UI, functionality, and overall productivity.
You may have seen my release write-ups on Flow during previous releases Spring ’23 and Winter ’23 As we moved forward, we thought it was best to compile all of these Flow features in one place; an A-Z glossary-style page highlighting what the Salesforce Flow Builder (formerly Cloud Flow Designer) can do.
Action Elements
“Flow Actions simplify the Flow building process by making it easier to create flows that connect with and perform actions on third-party systems without requiring additional integration or code.”
– Arnab Bose, VP of Product Management for Quip, Salesforce
Actions are used to add superpowers to your flows. There are a number of Actions that are built-in and ready for use out-of-the-box, but you can also build your own Actions using Apex or download packaged Actions from the AppExchange.
Activate a Flow
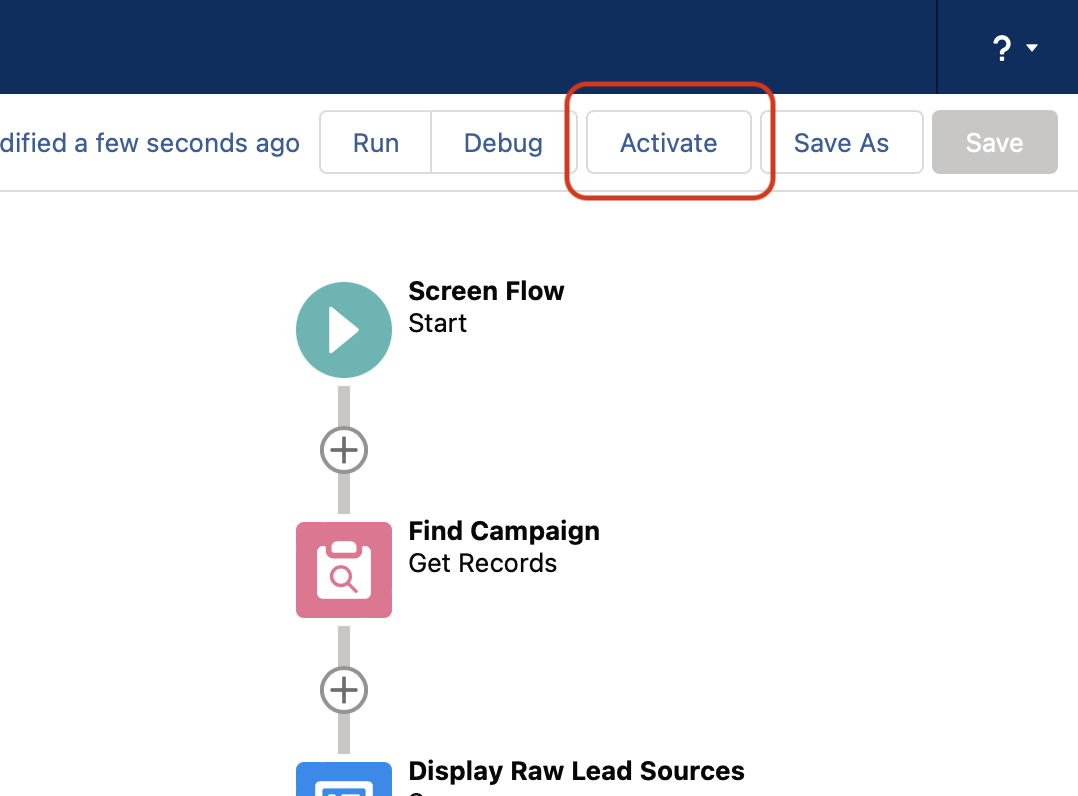
The ability to activate a Flow from inside the Builder wasn’t released until Winter ‘20, but once it was made available to the public there was a universal shout of joy! The old method meant saving the Flow, closing it, then navigating back to the flow list and activating it from there. Now a Salesforce Admin can configure and debug their flows and activate it all within the same canvas!
Autolaunched Flows
Autolaunched flows are a series of actions without a Trigger. Typically, these are called by other flows, Apex, REST API, and more. These flows don’t require direct user input and are run in the background.
Drag Selection
Drag selection functionality inside of Flow Builder makes the Flow building experience slick and engaging.
Salesforce Admins can click/drag to select multiple Flow elements on the canvas in Flow Builder. It allows admins to use their mouse to select multiple elements on the screen with a marquee select tool.


Dynamically Display Elements
This is the ability to dynamically display elements within a screen based on other fields.
There have been so many times when I’ve had to build flows that forced users to make an additional click and load a different screen based on what they had selected. This one is bound to be a game-changer!
See before and after images of two flows that achieve the same result (only the one with fewer screens has far fewer clicks too!)


Old Method (multiple screens) New Method (Dynamic Screen)
Elements
Elements are individual tiles that are used to create a flow. Depending on the type of flow you create, different elements are available for use. For example, if you’ve created a screen flow, the screen element will be available.
Flow Builder
Flow Builder replaced Cloud Flow Designer back in Spring ‘19 – a welcome upgrade with a simplified toolset and cleaner UI, for those who were used to building in any of the new Lightning Builder tools (Process Builder, Lightning App Builder, even the Community Builder). It laid the foundations for what would become the most powerful declarative automation tool that Sales Cloud had to offer.
Flow Builder is built using modern internet technologies, unlike the previous Cloud Flow Designer (which was built on Flash and was not able to work on mobile devices).
Flow Debug Tool
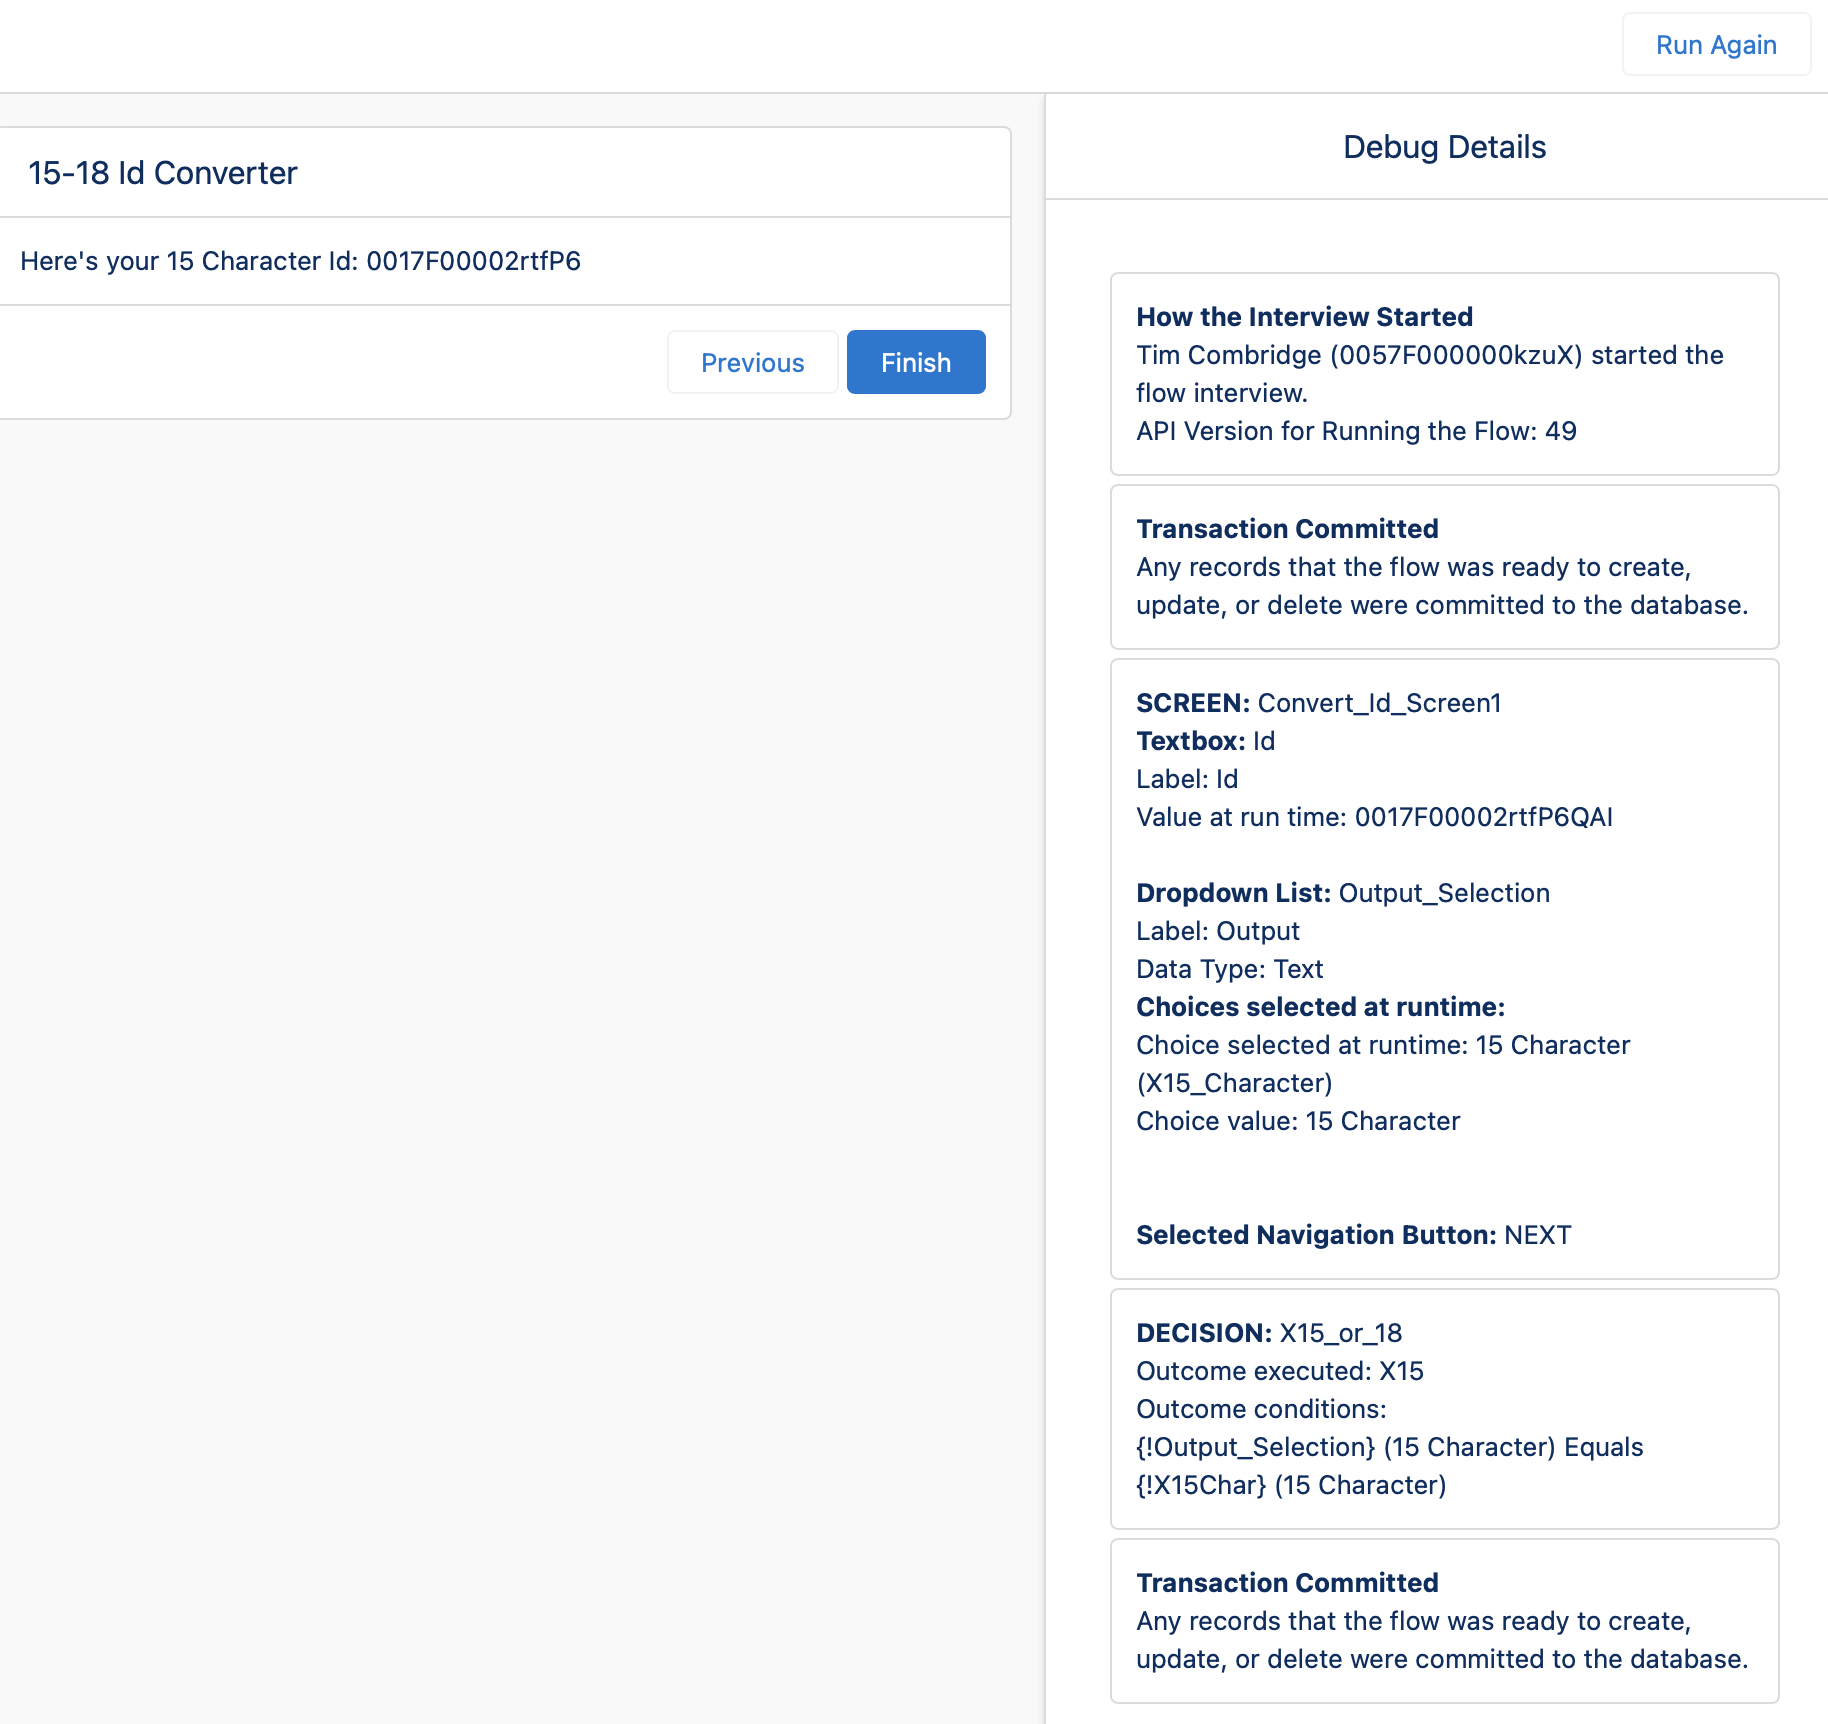
Flow Admins can use the built-in debug tool to make sure their flows are running correctly prior to leaving the Flow Builder. The Debug Details in the right-hand-side panel will show a step-by-step breakdown of what actions are occurring, what variables are being referenced, what calculations are running, etc. The debug tool makes it super easy to test your flows.
Flow Interviews
An interview is essentially an instance of a flow running. For example, let’s say a Flow Admin had created a screen flow that is called from an action on the account page. Each time that Flow is started by the user clicking on the action, it creates a new flow interview.
A Flow Admin can allow a flow to be paused and resumed. This is helpful in situations where a user will start using a flow and may need to continue it later.
Flow Loop Variables
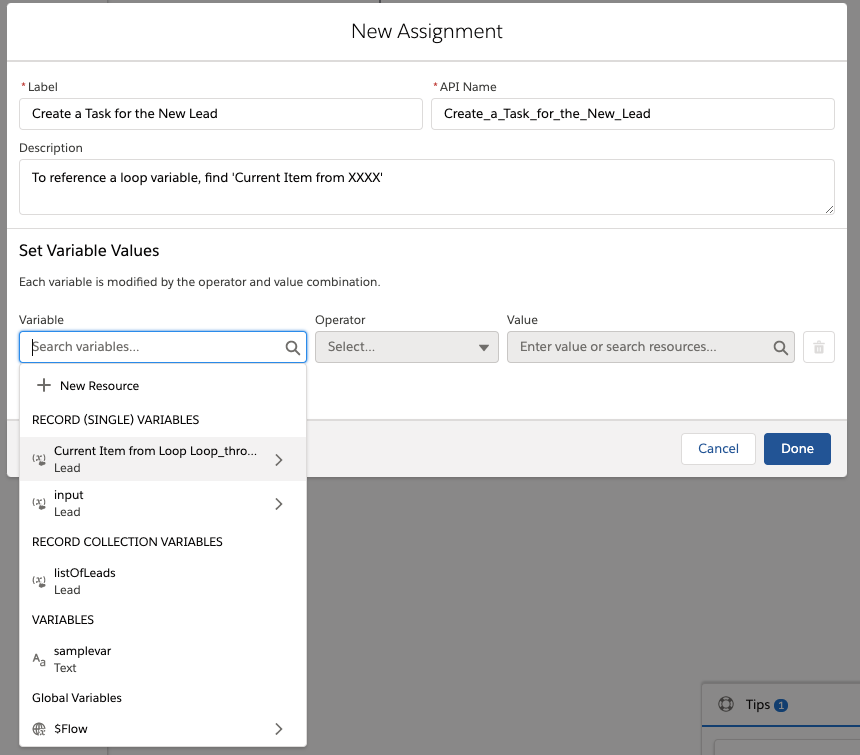
A Flow Admin can use a loop element to repeat a set of actions almost infinitely. The loop is based on a collection of variables and the actions will repeat for each of the records in a loop (or until the loop is broken).


A loop variable is an individual item from a loop that needs to be handled individually. For example, if the flow loops through a collection of lead records, then a single lead variable will be used as the loop variable.
Flow Admins now have the option to have the loop variables automatically created when they create a loop (a huge personal peeve of mine was creating them manually). Let’s say you had a loop called ‘lead_loop’, Flow Builder will automatically create a resource called ‘Current Item from lead_loop’. The result? It will save you a ton of time and make it much easier for new flow users to learn how to use the tool.
Flow Orchestrator
A more complex Flow type that uses a combination of Stages and Steps to string multiple flows together through logical paths. While these may look similar to Approval Processes, they cannot replace them (well, not yet anyway).
You can learn more about Flow Orchestrator here.
Flow Types
These are the types of flows you can create:
- Screen Flow: Guides users through screens that they can access with Salesforce such as those in a Lightning page or community.
- Scheduled Flow: Launches a flow in the background at a scheduled time and frequency.
- Autolaunched Flow: Launches a flow in the background from another flow, a process, a button, or code such as Apex.
- Record-Changed Flow: Launches a flow in the background when a record is created or updated.
- Platform Event Flow: Launches a flow in the background when a platform event message is received.
Each has its own entry in this glossary.


List View
You can create multiple List Views and customize the columns in each of them, just like every other List View throughout the platform. As small as this is, I think it makes a big difference to how admins manage their flows.


Platform Event-Triggered Flows
Similar to a record-triggered flow, a platform event-triggered flow is activated by something that happens within Salesforce. Instead of this trigger being based on a record being created or edited, platform event flows are triggered when a platform event message is received.
When the Flow is created, it will subscribe to the specified platform event and wait until it receives a message. When that message is received, the Flow will run.
Record-Triggered Flows
Record-triggered flows are the declarative equivalents of an Apex trigger. Essentially, this flow type will remain dormant until a specific change is made to a record.
The ability to handle before and after events was previously not something a declarative tool could do and was reserved for Apex only. However, with the Spring ‘20 release, flows now have the ability to run before the record is saved. This is a huge step for Flow and will grant even more power to declarative users.
Resources
Flows are made up of two key pieces: the elements (the tiles that can be seen on the canvas itself) and the resources (the individual variables and constants that make up the data within those elements.
Resources aren’t just the variables that are captured or calculated, they’re also things like the various screen components (fields on a screen), choice options, decision outcomes, etc.
Retirement Timeline
Not so much a feature of Salesforce Flow, but definitely something to be aware of as a declarative developer. It’s no surprise that Workflow Rules and Process Builder are joining Salesforce Classic over the rainbow, and this timeline gives a good overview of how long that process will take.
Rollback Mode in Flow Debugger
With rollback mode enabled in your Flow Debugger, any changes that are executed by your flow won’t be saved while you test it. This helps to keep your data clean and tidy while you create and test your flows. This is one of those tiny changes that will have a huge impact.
Simply check the box on the first screen of the debugger to enable it, and your database will remain 100% intact.


Scheduled-Triggered Flows
Let’s say you’ve got a flow that needs to run every Thursday at 1am and you’ve been manually calling it to date… you can now schedule it to run every Thursday at 1am without using a single line of code!
Screen Flows
Screen flows are used when a user’s input is required to achieve a goal. This may be a new record-creation wizard, or a guided phone script, or performing a checklist of actions that update a hidden field on a record, just to name a few examples.
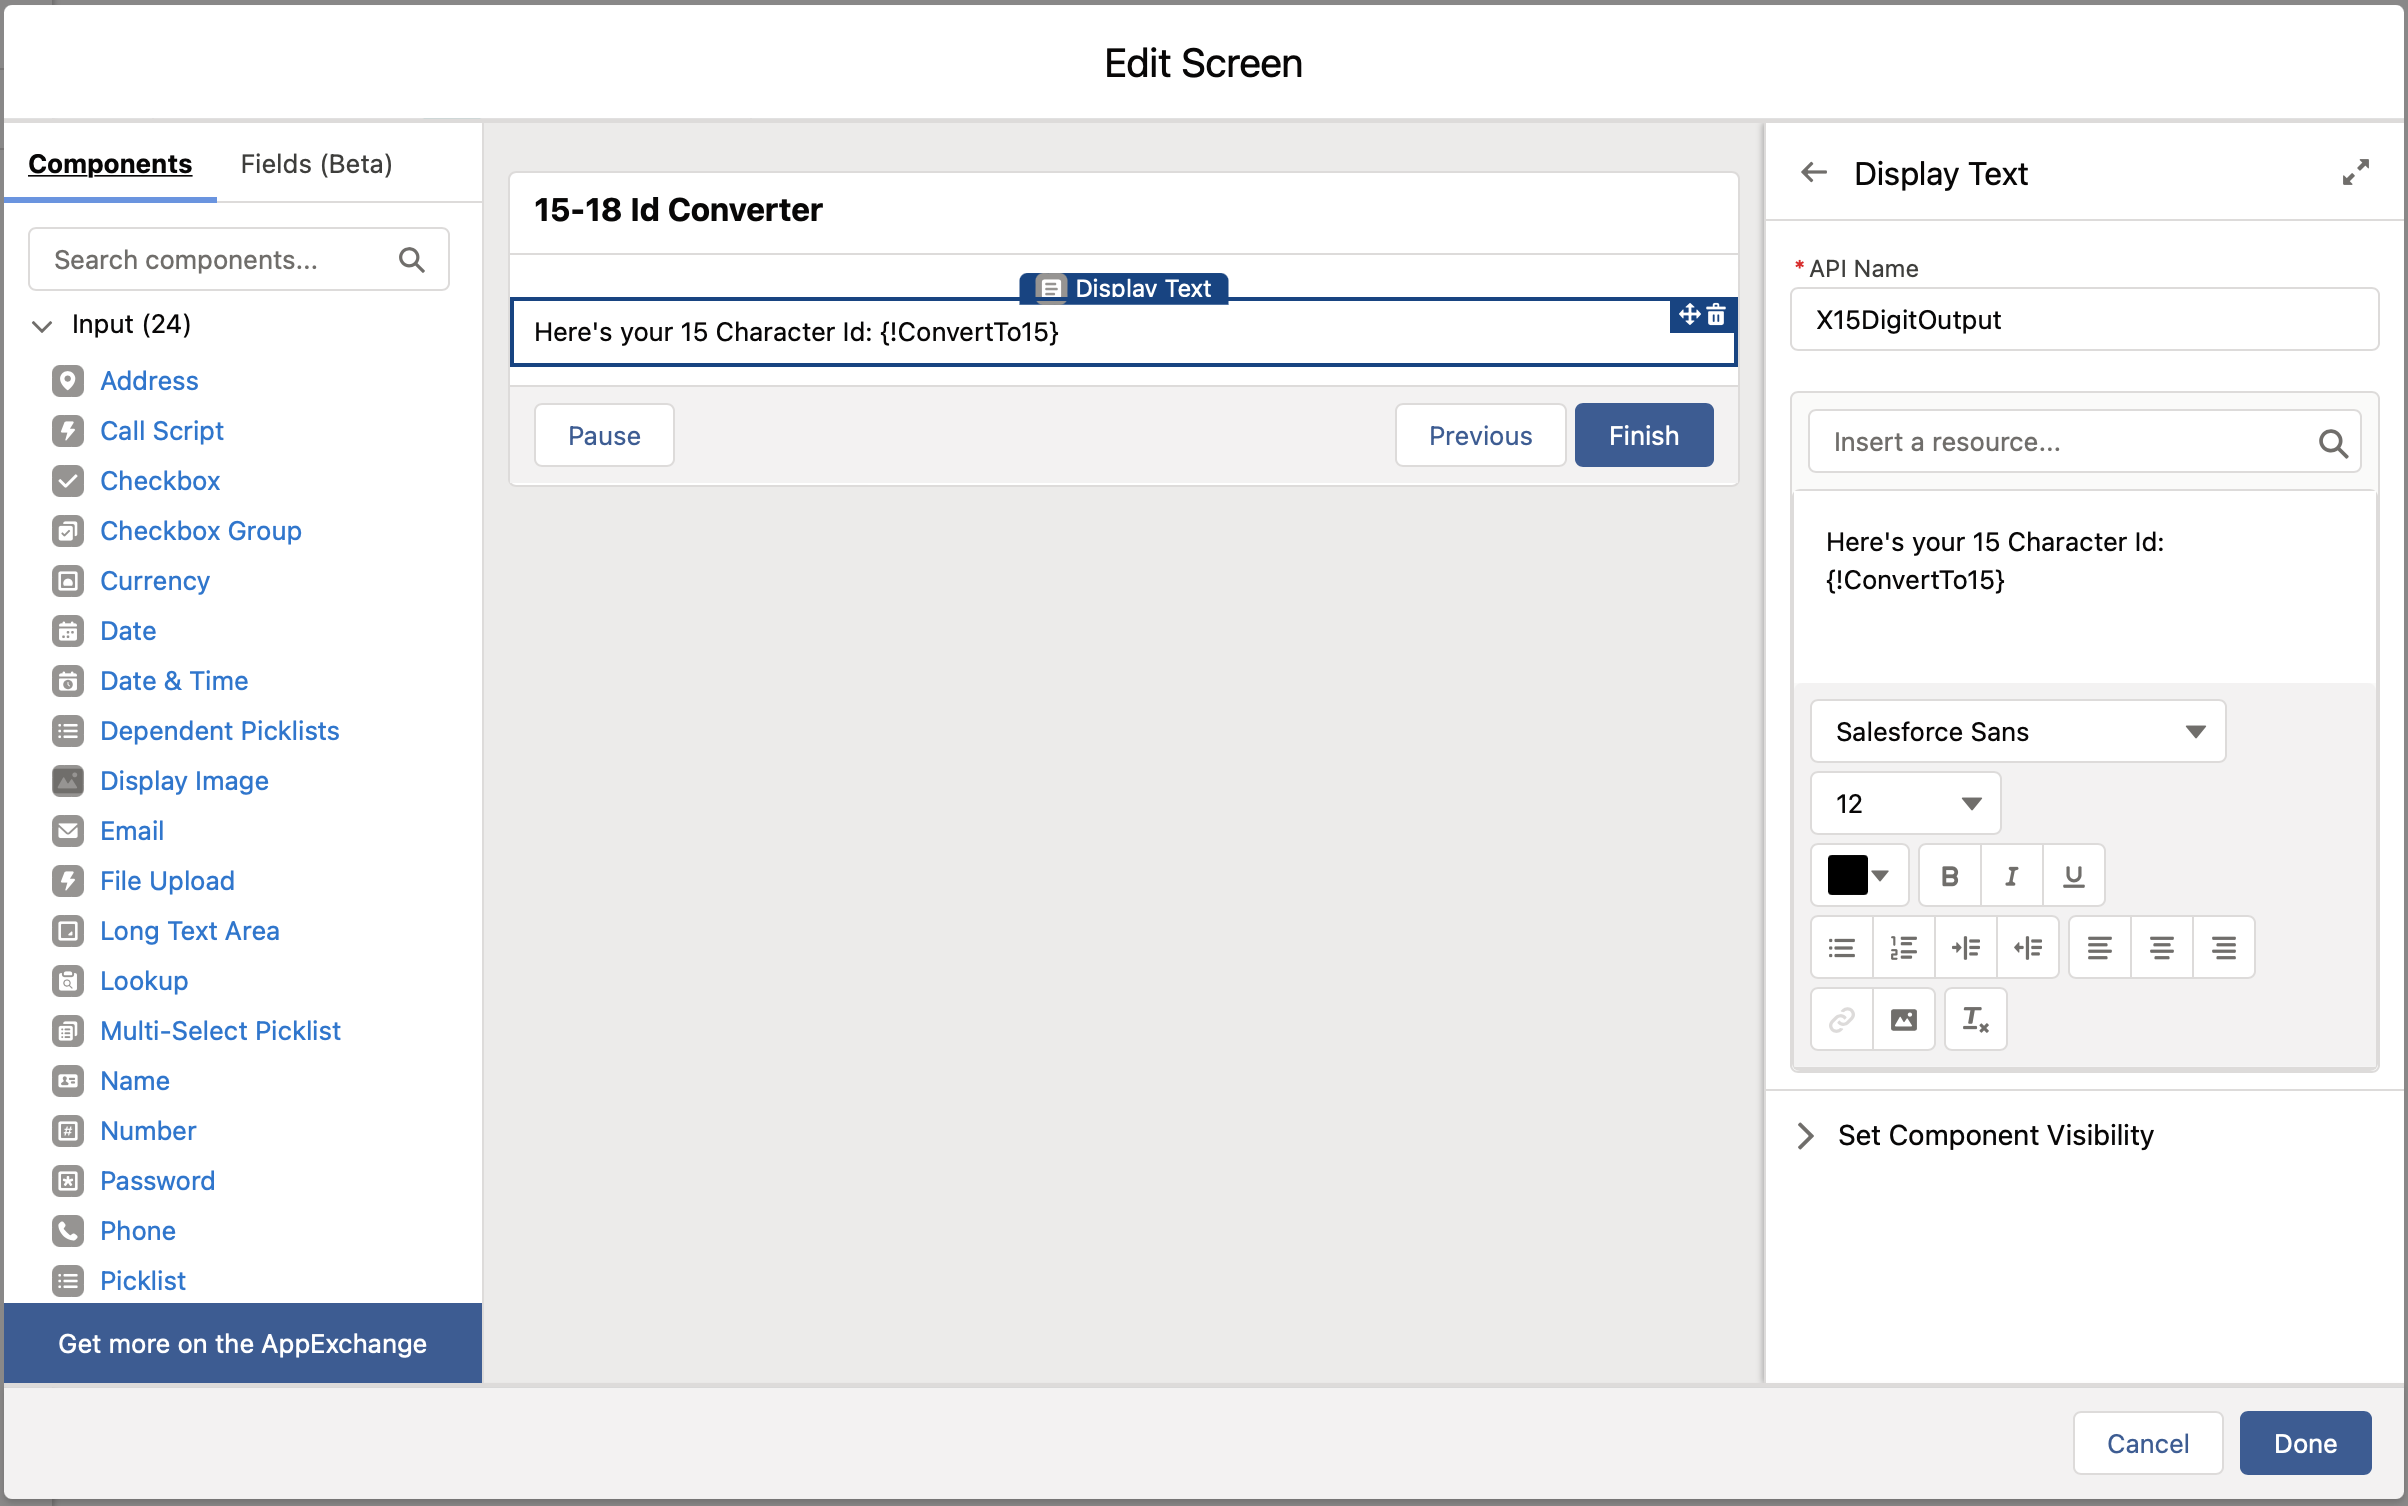
Screens can be customized to display text or images, or capture information from users in the form of text fields, lookup fields, and checkboxes, for example.


Subflows
Subflows are a form of autolaunched flow that can be called by a parent flow and is used to keep the user interface cleaner. Flow Developers can build out repetitive functionality just once and use it across multiple flows.
Toolbox
Now hidden for the sake of simplicity and better use of screen real estate, the “Toolbox” can be found by clicking on the icon at the top-left of the Flow Builder. The Toolbox is home to any resources and elements that you’ve built in the current Flow.
Final Thoughts
From basic functions to more complicated Flow Builder automations, I hope this ‘A-Z’ has provided practical guidance for Salesforce users. What are some of your favorite Salesforce Flow features? Let us know in the comments.


Comments: