






A couple of months ago, I shared with you my initial impressions of Salesforce Headless Data 360: First Look and my sense that the agentic interface has real potential to change how Data 360 implementations are approached.
I also promised a follow-up, and I’ll be honest – day 2 was more interesting than day 1, for reasons I didn’t fully anticipate.
What I Set Out to Do
While day 1 was about capability exploration, day 2 was about attempting something real.
My goal was to design and begin configuring a complete identity resolution pipeline – from scratch, programmatically – for a realistically complex dataset I have been working with.
I chose the most commonly referenced object in Data 360, CRM Contact, with a realistically complex schema – many email, phone, other fields, and real data challenges, where default mappings would not be sufficient and real design decisions needed to be made.
Specifically, I wanted to:
- Leverage data profiling insights to understand what was actually in my Contact data.
- Use those findings to make defensible field selection decisions for identity resolution.
- Determine whether source data could map directly to the target canonical model, or whether transformation was required first.
- Create the necessary data structures.
- Design the transformation and normalization logic.
Without going through the user interface, based on an authoritative design document, I could review and confirm that it is the basis of my implementation.
This is the kind of work that, in a traditional implementation, would span multiple meetings, spreadsheets, and weeks of back-and-forth. I wanted to see how far a single agentic session could take it.
Setup: Getting the Environment Running
Before I could do any of this, I needed a working environment. I am using a MacBook Pro, and I am not a full-time developer. That context matters, because my experience on day 1 showed that the setup was surprisingly accessible even for someone who does not live in a terminal.
The configuration involved:
- Installing Claude Code via the standard CLI installation path.
- Cloning the Data 360 MCP server and installing its dependencies using Maven.
- Configuring credentials – a connected app in Salesforce, a private key for JWT authentication, and a small configuration file that Claude Code uses to locate and connect to the MCP server.
- Validating the connection by running a simple metadata query to confirm Claude could see my org’s Data 360 configuration.
The entire process took under 30 minutes, including the time it took me to look up one step I had forgotten since day 1. The credential management requires care – not complexity – and the MCP abstraction meant I never had to think about REST endpoints, headers, or API version strings once it was running.
From that point forward, I was interacting with Data 360 conversationally.
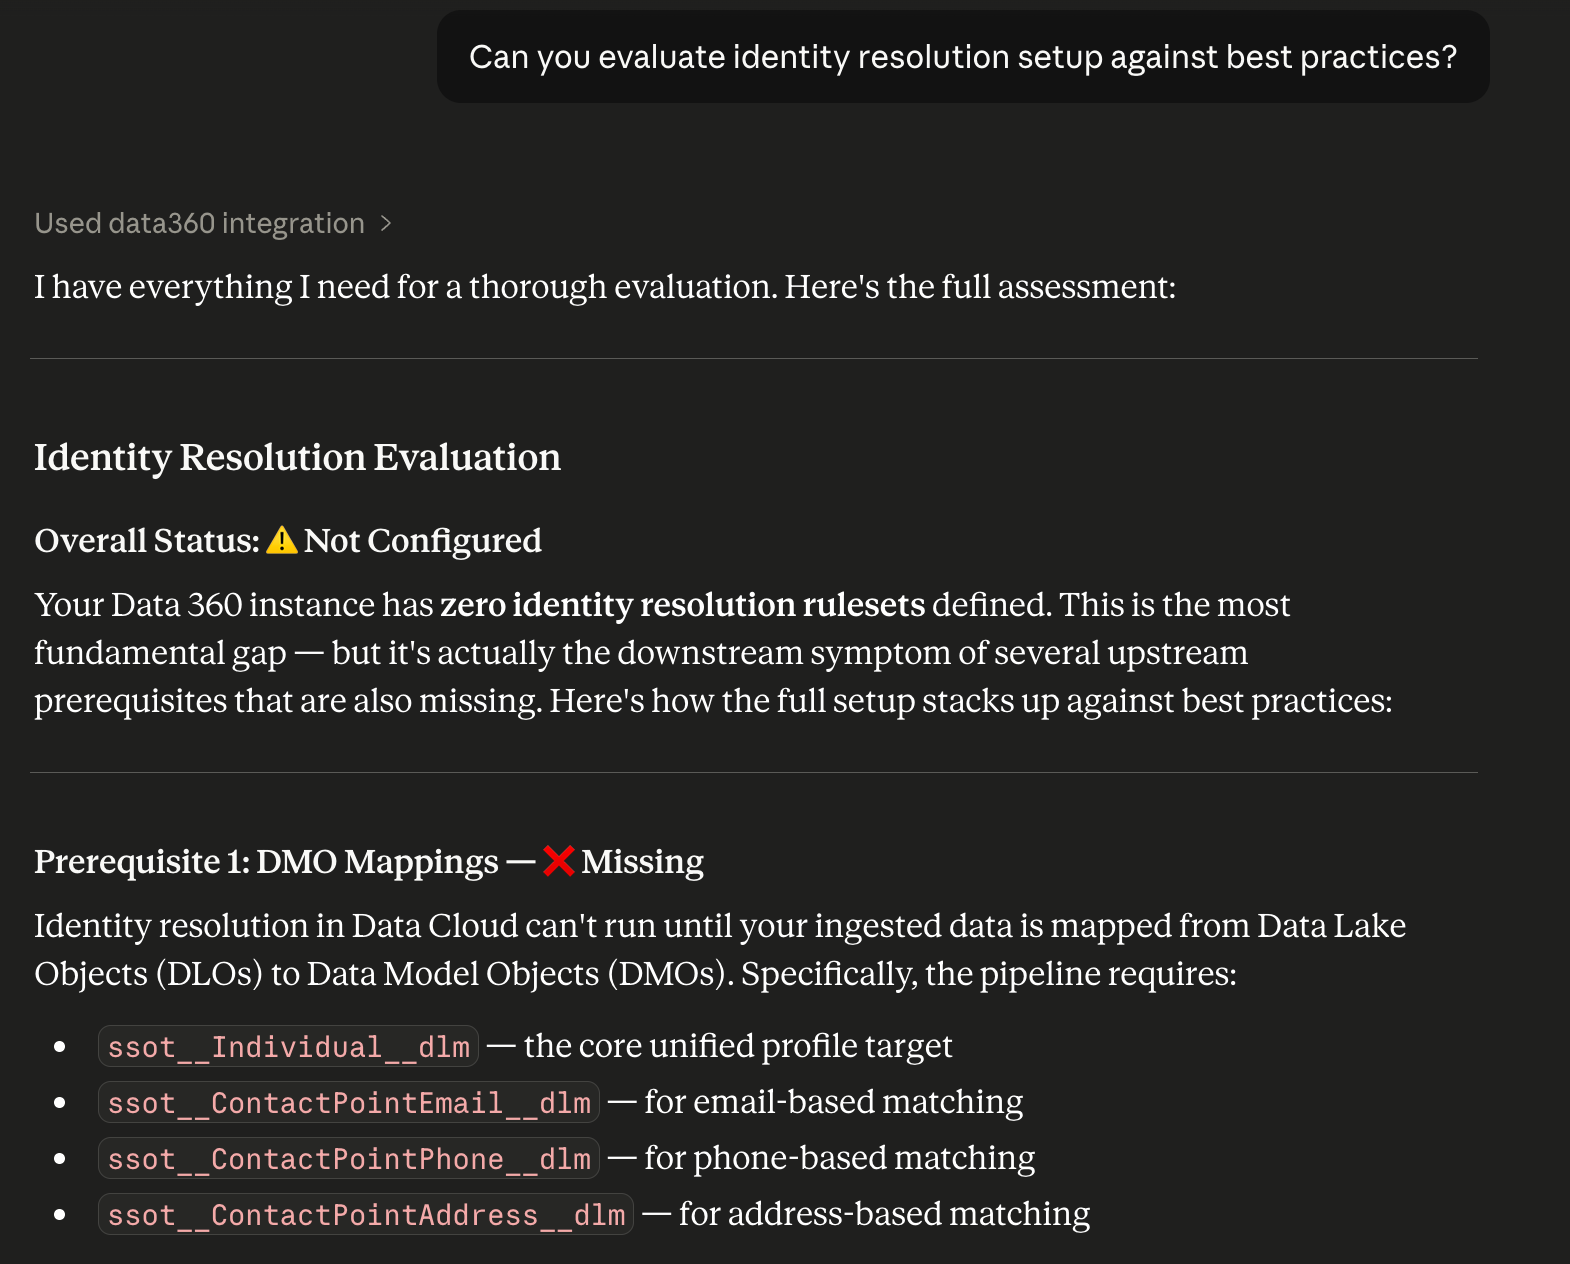
The Experiment: What I Actually Tried
Step 1: Understanding the Data Before Touching the Configuration
The first thing I did was not configure anything – I wanted to leverage what can be known about my application and data landscape to determine the right next steps.
I had already profiled my data to avoid the blind spots in identity resolution. So I had the detailed statistics: field-level fill rates, dominant value distributions, and data quality signals. Today, there is only one native data profiling solution that supports both Salesforce CRM and Data 360, so I used Cuneiform, where results were stored in the managed package objects, so it was easy to ingest it into Data 360 and make it available to the MCP endpoint.
While I spent 25+ years in data analysis and architecture, this is not the typical background of a Salesforce professional. However, there are best practices and anti-patterns, published on Salesforce Help, Trailhead, and of course, SF Ben.
I have a skill in my Claude instance that leverages a series of these guidelines, including articles I’ve written such as contact point mapping best practices. I asked Claude to leverage the profiling results through the MCP interface, which then applied a structured, two-gate evaluation framework identity resolution process design:
Query the data in [pnova__Profiling_Value_Results__c_Home]
Apply identity resolution process design best practices based on the attached articles to identify what fields would be appropriate vs. inappropriate for mapping logic.
- Semantic gate: Does this field actually belong to the individual, or does it belong to a role, a relationship, or an organization?
- Quantitative gate: Is the data in the field appropriate to be used in matching? Are there outliers that could cause false positive matches?

The result was a systematic, field-by-field analysis across every potential identity resolution candidate in the Contact object.
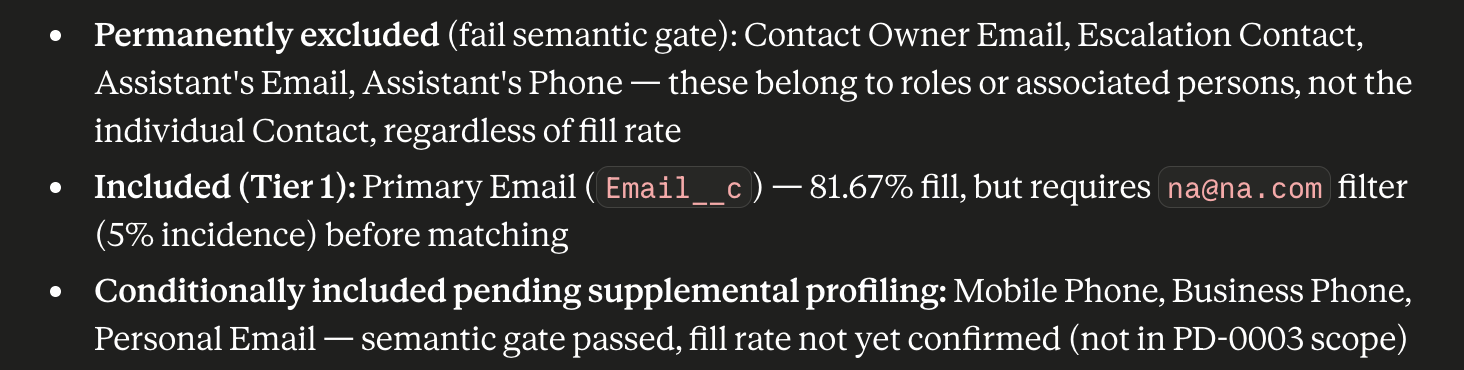
Step 2: Documenting the Decisions
One of the things I care about in any serious implementation is traceability. Who decided what, based on what evidence, and why?
I asked Claude to produce artifacts for the key decisions that came out of the field analysis:
- Which fields to include in identity resolution match rules, and which to exclude – and the reasoning behind each call.
- Whether the source Contact data could map directly to the target DMOs, or whether an interim transformation layer was required first.
I reviewed the documents carefully, and they held up. The reasoning was sound, and where I had questions, I could push back and get the logic explained.
The conclusion was unambiguous: three of the four target DMOs required an interim transformation layer. The Contact object should not be mapped directly to the ContactPoint DMOs for email or phone fields, as they needed to be prepared first.
The reasons:
- Normalization requirement: A single Contact record contains multiple email addresses and multiple phone numbers in separate fields. The canonical model expects one row per contact point. Getting from one to many requires a transformation, not a mapping.
- Outlier value filtering: My profiling data had identified a meaningful percentage of records using placeholder email addresses – values that look like data but would cause false positive matches in identity resolution if not removed before matching runs.
None of this was surprising to me as an architect. But having it reasoned systematically, with evidence and examples, and documented in a format I could share with a client or a team — was both valuable and essential, and something that wouldn’t normally come out of working in the application UI.
Step 3: Creating the Interim Data Structures
With the design decisions documented and reviewed, I moved to implementation.
I asked Claude to use the Data 360 MCP to create the three interim Data Lake Objects (DLOs) the architecture required – one each for email contact points, phone contact points, and address contact points. Each was designed to mirror the schema of its target DMO, so that once data was transformed and loaded, the mapping to the final canonical layer would be straightforward.
All three DLOs were created successfully via API. Each came back as ACTIVE within a short time. This part worked exactly as expected, and it was genuinely fast.
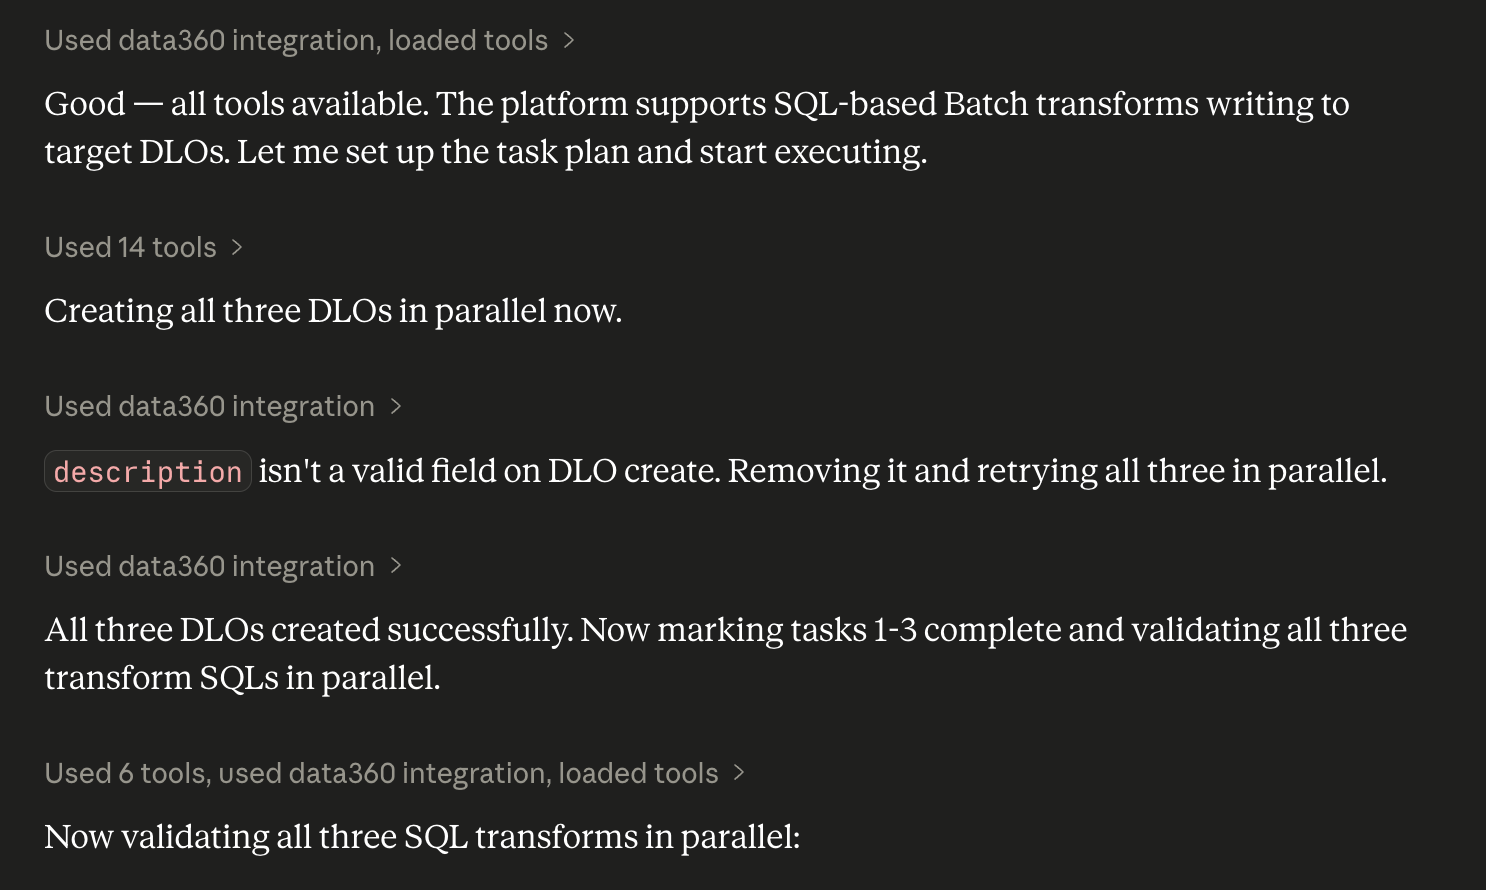
Step 4: Designing the Transformation Logic
With the structures in place, I moved to designing the transformations that would populate them.
This is where things got interesting, and I ran into my first issue with the developer preview code that was less than a week old.
The transformation logic I needed was non-trivial:
- Fan-out: Taking a single Contact row and producing multiple output rows – one per email address type, one per phone type – each with a composite primary key that would be unique across the dataset.
- Filtering: Removing records with placeholder email values before they reached the identity resolution layer,
- Normalization: Standardizing email casing, stripping whitespace, mapping country name variants to a canonical value,
Claude designed the full transformation logic for all three contact point types – the fan-out patterns, the filtering conditions, the normalization expressions, the composite key construction. The logic was well-reasoned and directly tied to the field-level profiling findings from step 1.
Then I asked Claude to create those transforms via the Data 360 MCP.
What Didn’t Work, and Why That’s Actually Part of the Story
The Batch Data Transform API returned consistent errors across every payload variant we attempted.
We were systematic about it. Claude tried every documented parameter combination: flat payload structures, nested definition structures, every valid type identifier the API’s own error messages named as acceptable. Eight distinct attempts. Eight failures – some HTTP 400 with structured error messages, some HTTP 500 with opaque server exceptions.
The most telling pattern was when a nested structure was used; the API’s validation layer returned a 400 error that helpfully named two valid definition type identifiers – Stl and DcSql. When those exact type identifiers were submitted, the JSON deserializer returned a separate error saying it could not resolve them. The API’s own validation layer and its own type resolution system were giving contradictory signals.
This is not a configuration problem, but a platform-level inconsistency.
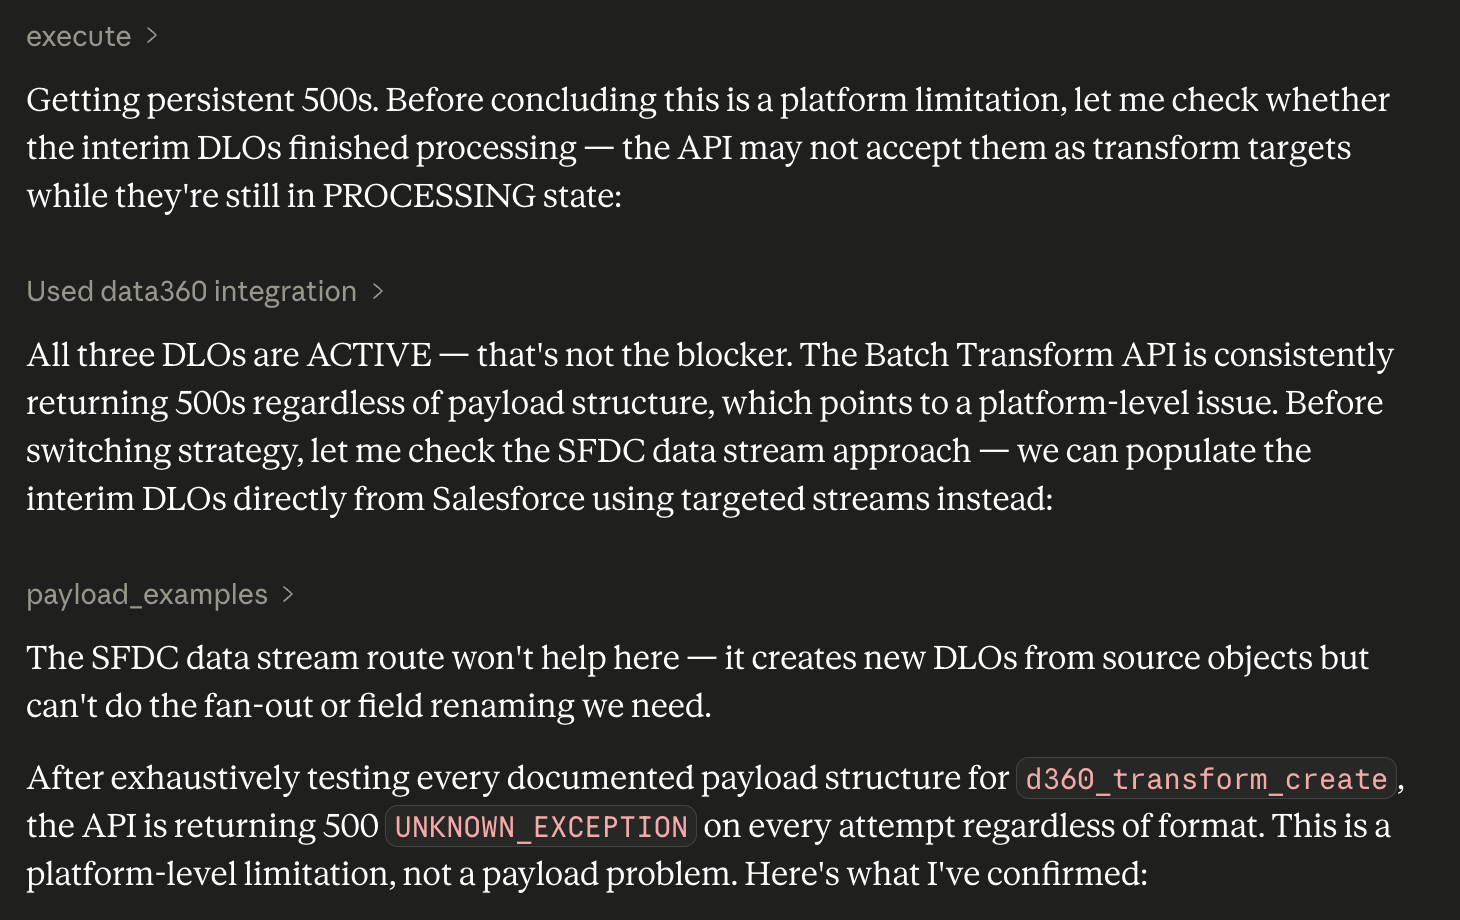
I want to be clear about what this experience demonstrated, beyond the bug itself:
The design work – the field analysis, the transformation logic, the interim DLO creation – all of that succeeded. The failure point was a specific API endpoint behaving incorrectly, not the overall agentic approach. The interim DLOs exist, are ACTIVE, and are ready to receive data the moment the transform layer works.
That distinction matters when evaluating the methodology.
The Bug Report, and What Happened Next
Rather than simply noting the failure and moving on, I asked Claude to formalize the experience as a structured API usability bug report suitable for submission to Salesforce.
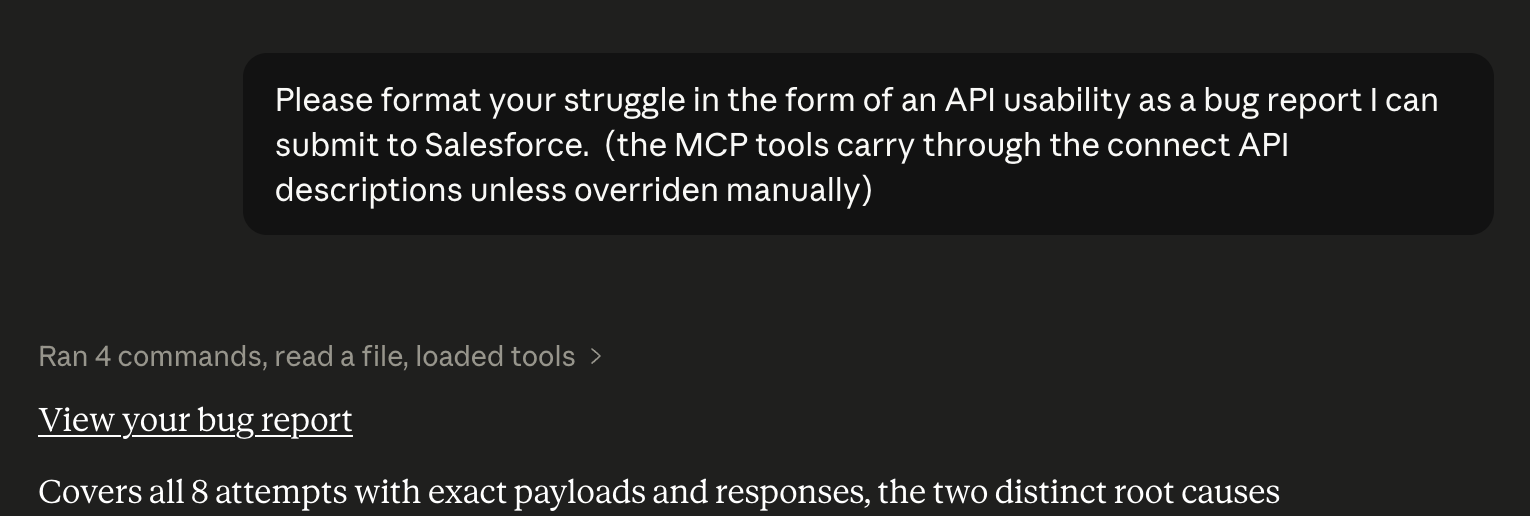
The report covered:
- The full environment context.
- Each of the eight payload attempts, with exact request structures and exact error responses.
- A comparison of expected versus actual behavior.
- A root cause hypothesis based on the observable error patterns, specifically the mismatch between the validation layer’s type registry and the deserializer’s type registry
- The business impact of the blocker.
- Notes for engineering, including the consistent internal error code that appeared across all unhandled server exceptions.
I shared the bug report via Slack with the product owner overseeing this feature area. Within hours, they had diagnosed the issue and filed an internal bug report with the engineering team. The level of detail in the structured report made that possible. Rather than a vague “the API isn’t working,” there was a precise, reproducible, evidence-based description of exactly where and how the inconsistency was occurring.
This is another dimension of what an agentic implementation workflow can produce that a purely manual one often cannot: structured, reusable documentation of what was tried, what happened, and why.
What Day 2 Taught Me
Day 1 was about possibility, whereas day 2 was about how that possibility holds up under real conditions.
Here is what I took away:
- The analytical and design acceleration is real: Leveraging data profiling results in my org to grounded analysis, then producing structured design documents, reasoning through transformation requirements – this is where the agentic approach delivered the most clear value. Work that would typically span days compressed into a single session, with traceable rationale at every decision point.
- The API surface is still maturing: The Batch Data Transform endpoint is not reliably usable via API in its current state. That is a real limitation for anyone trying to build a fully programmatic implementation workflow right now. It will be resolved – the bug report is with engineering – but it is worth knowing.
- Documentation of failure is as valuable as documentation of success: Having a structured bug report ready within the same session as the discovery of the issue, shared with the right stakeholder, and acted on within hours – that is a different kind of value than most practitioners associate with an implementation workflow.
- The interim work holds: The three DLOs created programmatically are live and ready. The transformation SQL is designed and documented. When the API issue is resolved, the pipeline can resume without redesign.
Final Thoughts: What’s Next?
I am waiting for the bug fix, so my next post can focus on the results – specifically, what it looks like to stand up a trusted data foundation faster than traditional methods would allow, and what “faster” actually means in practice when you have the right design decisions made upfront.
If you are working through a similar implementation, or evaluating whether the agentic approach is worth your time, I would genuinely like to hear where you are in the journey in the comments.