


Sandboxes are frequently used by anyone building on the Salesforce platform to validate changes, ensuring no disruption to the existing configuration will occur. Everyone wants to avoid nasty surprises at all costs, which is why you should simulate data that exists in your org (known as sandbox seeding).
There are different types of Salesforce sandboxes, one type copies your entire production data, and some types don’t copy any data; however, when you create or refresh a sandbox, there is an option to run an Apex Class that we can write to add sample data.
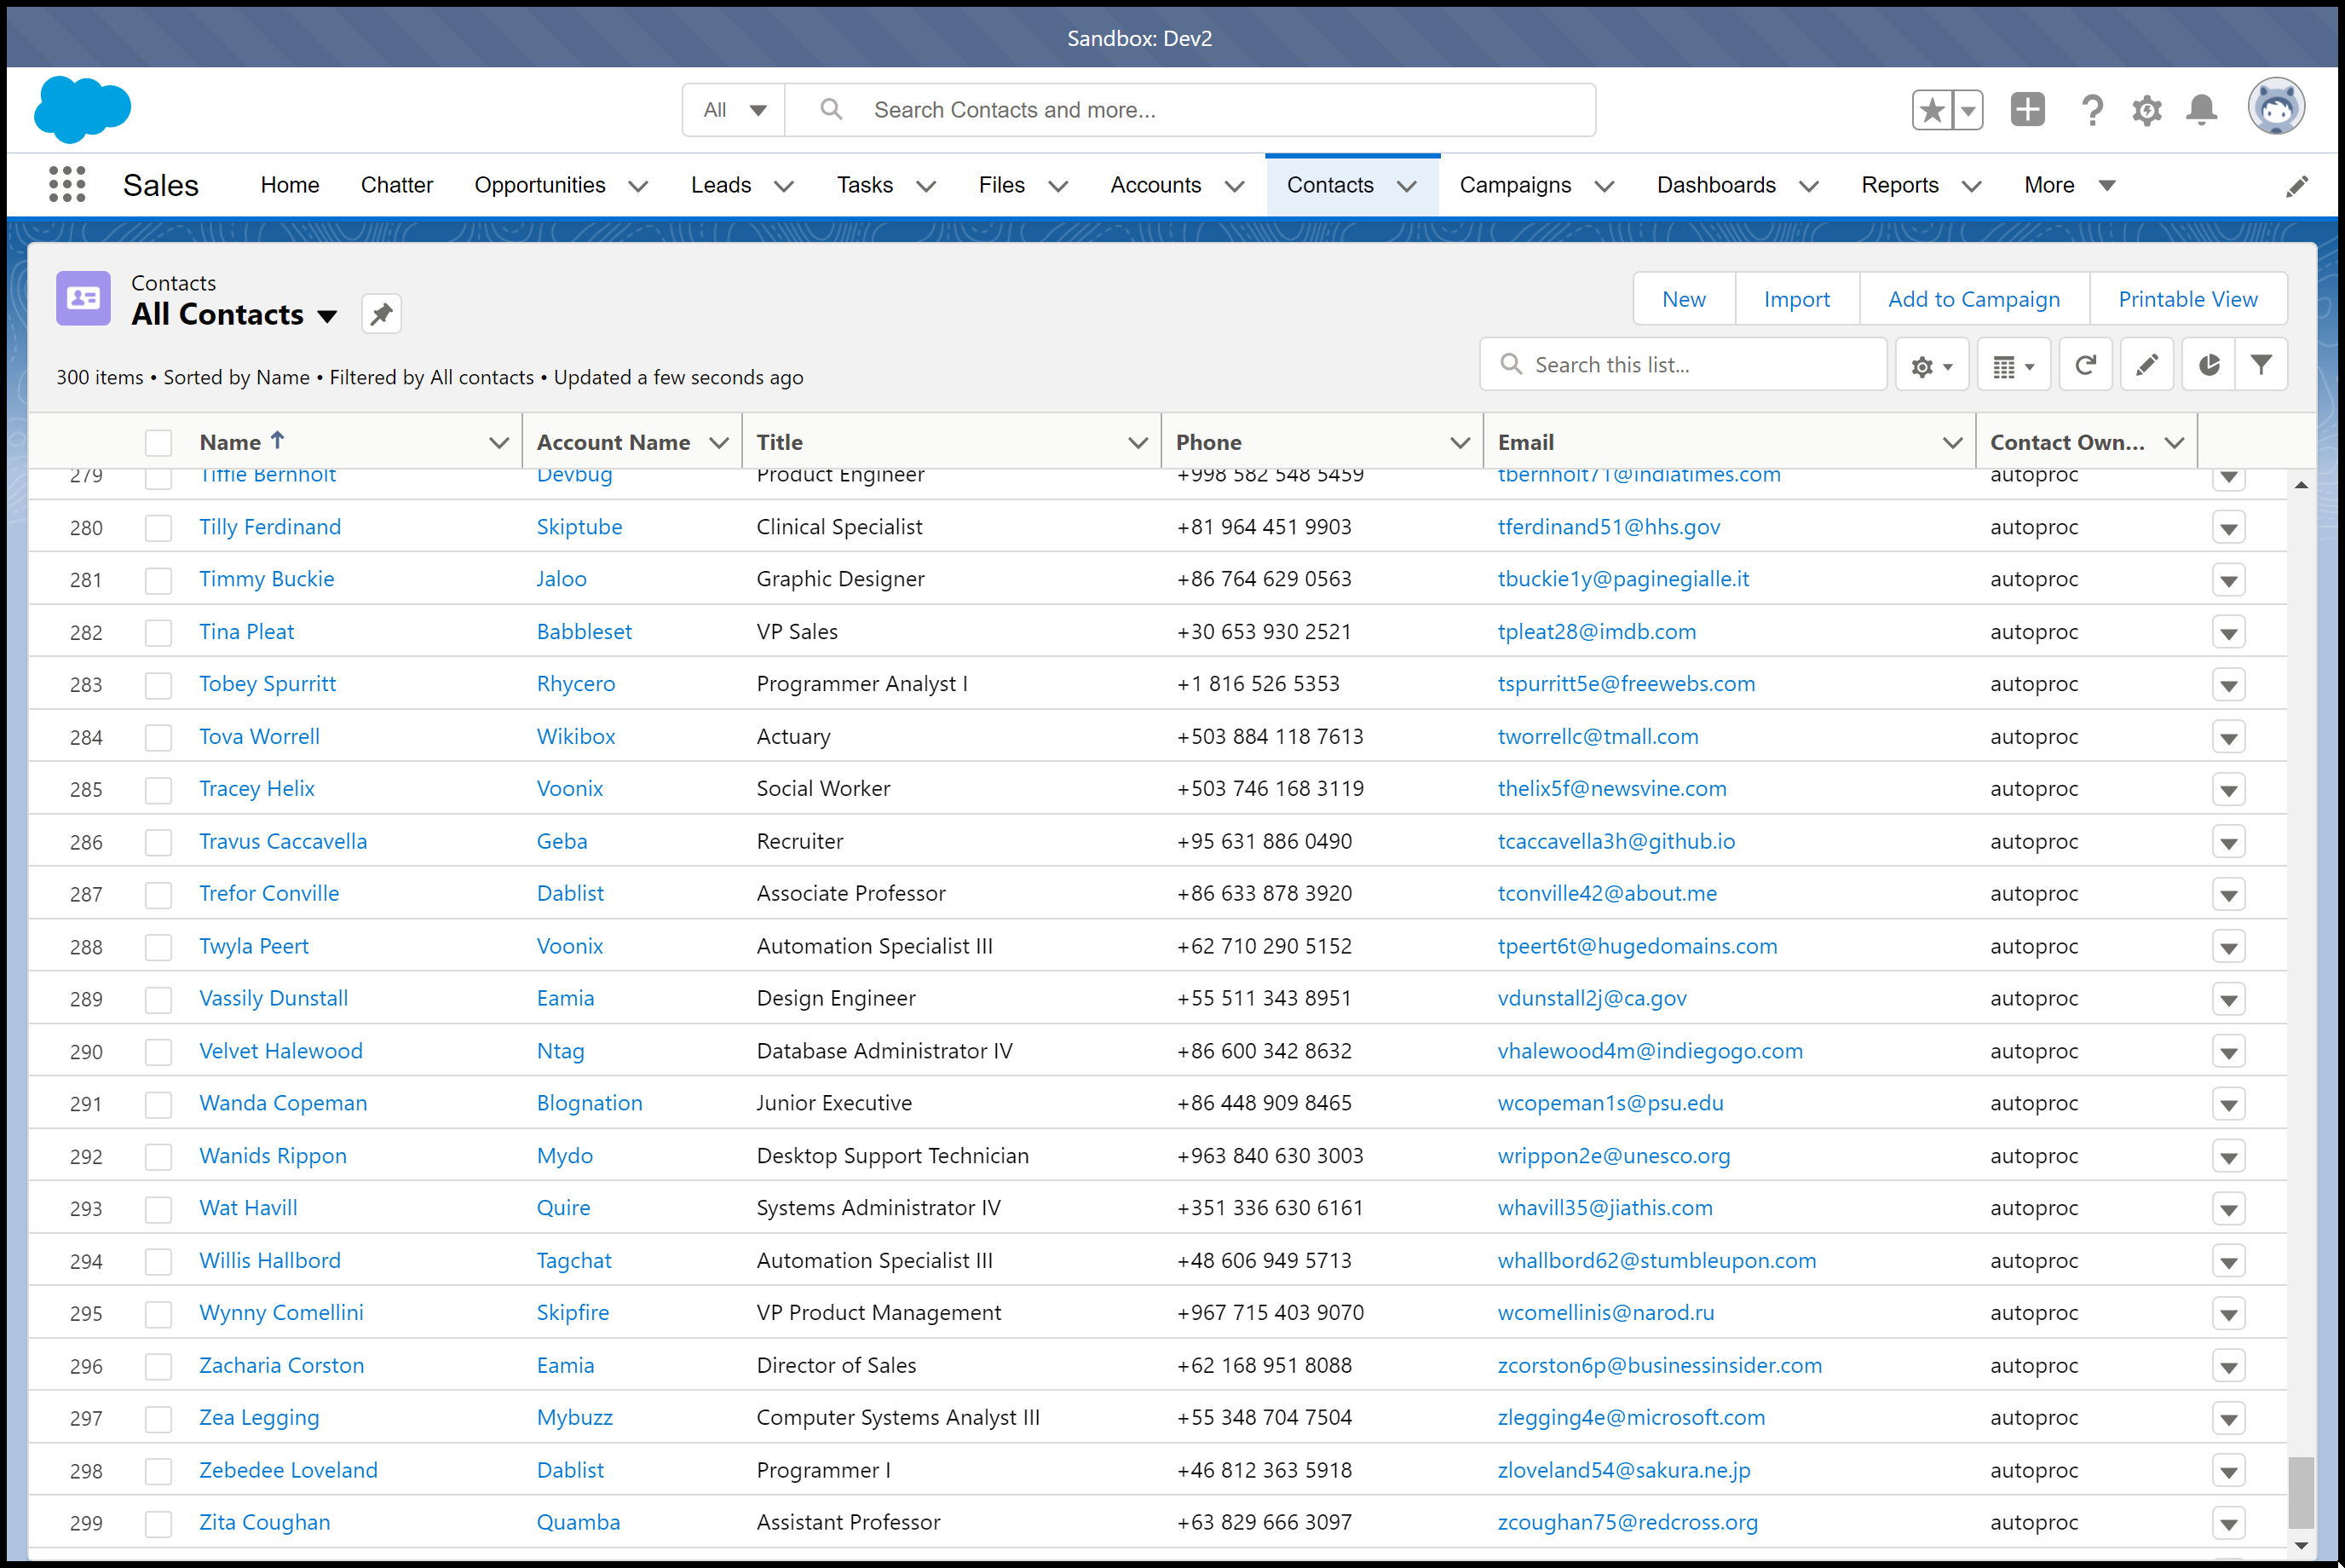
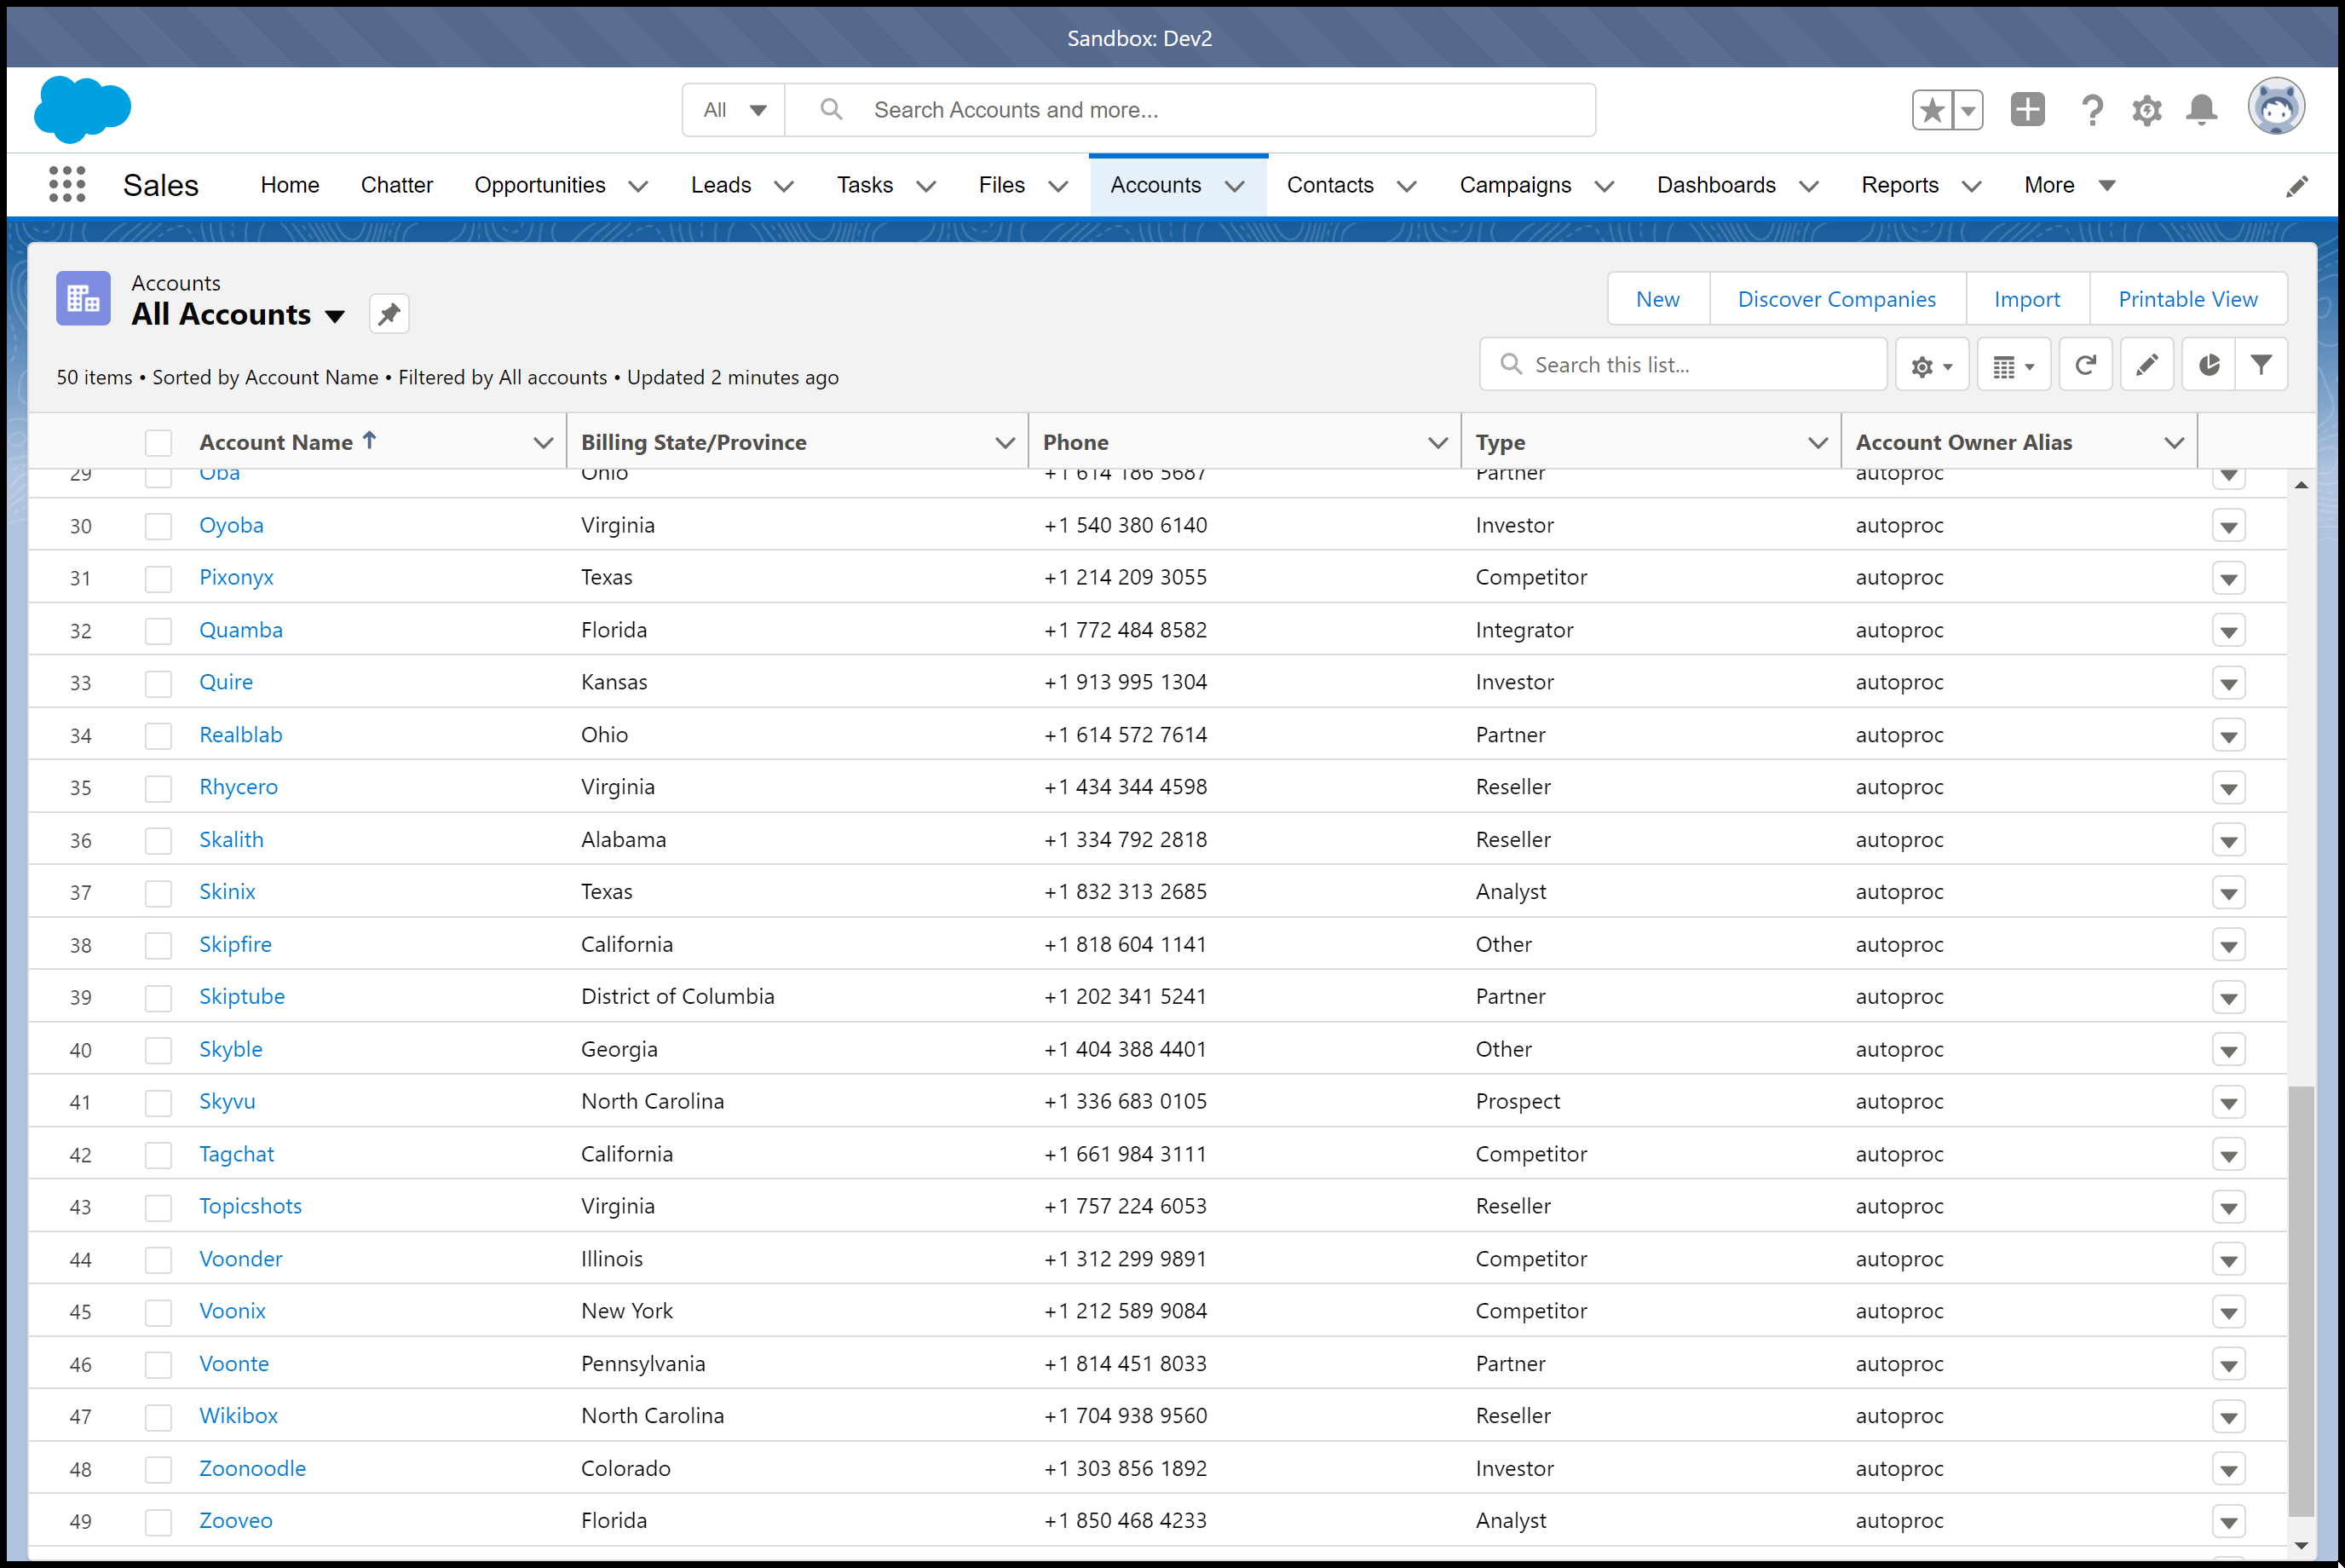
Would you like your new Developer sandboxes to emerge, fully ready, set up, and brimming with sample data like this:
In this guide, I’ll show you how.
The SandboxPostCopy Interface
Look no further… Developer sandboxes don’t come with sample records; however, when you create or refresh a sandbox, there is an option to run an Apex Class implementing the SandboxPostCopy interface.
Let’s use this feature to auto-populate new sandboxes with sample records.
Hands-on Example
Without further ado, let’s jump straight in. Our simple example will create 50 Accounts and 300 related Contacts upon sandbox refresh.
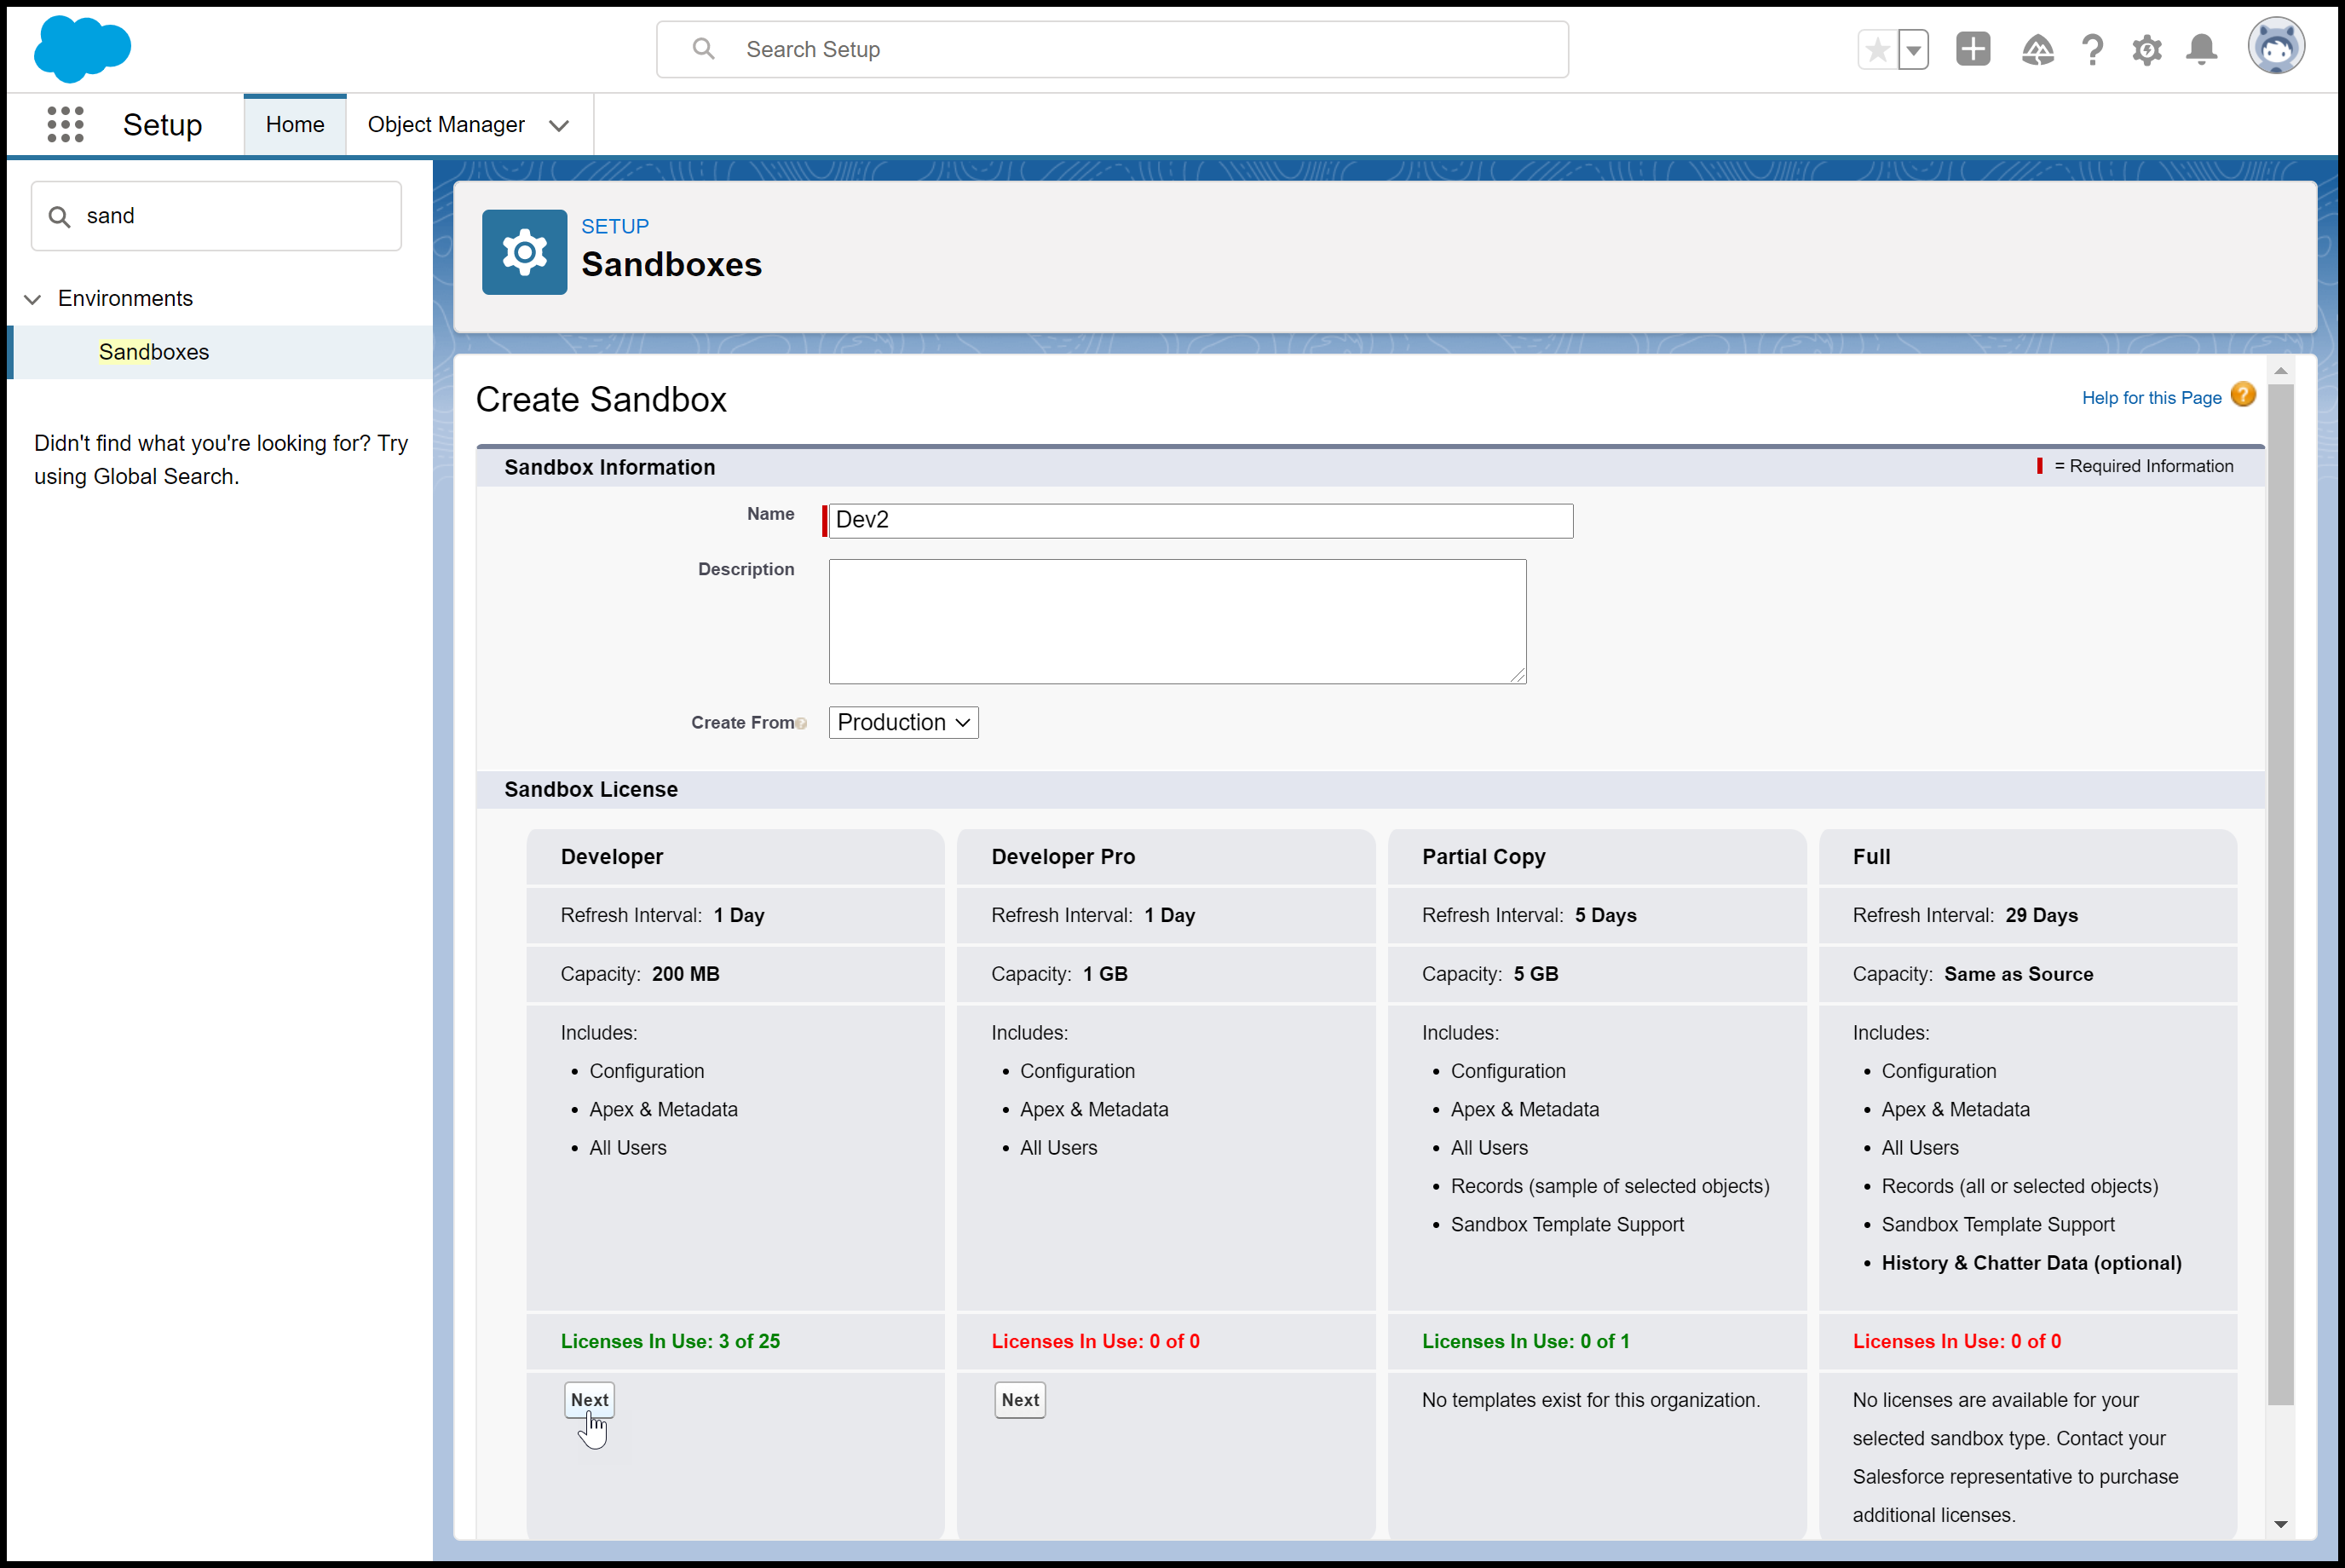
1. Create a sandbox:
The prerequisite is that you need to have an Enterprise Edition org. As per good habits, don’t tinker around in production. Instead, promptly create a sandbox, say “Dev1”, and log into Dev1.
2. Upload CSV files:
Download these two CSVs of sample accounts and sample contacts…
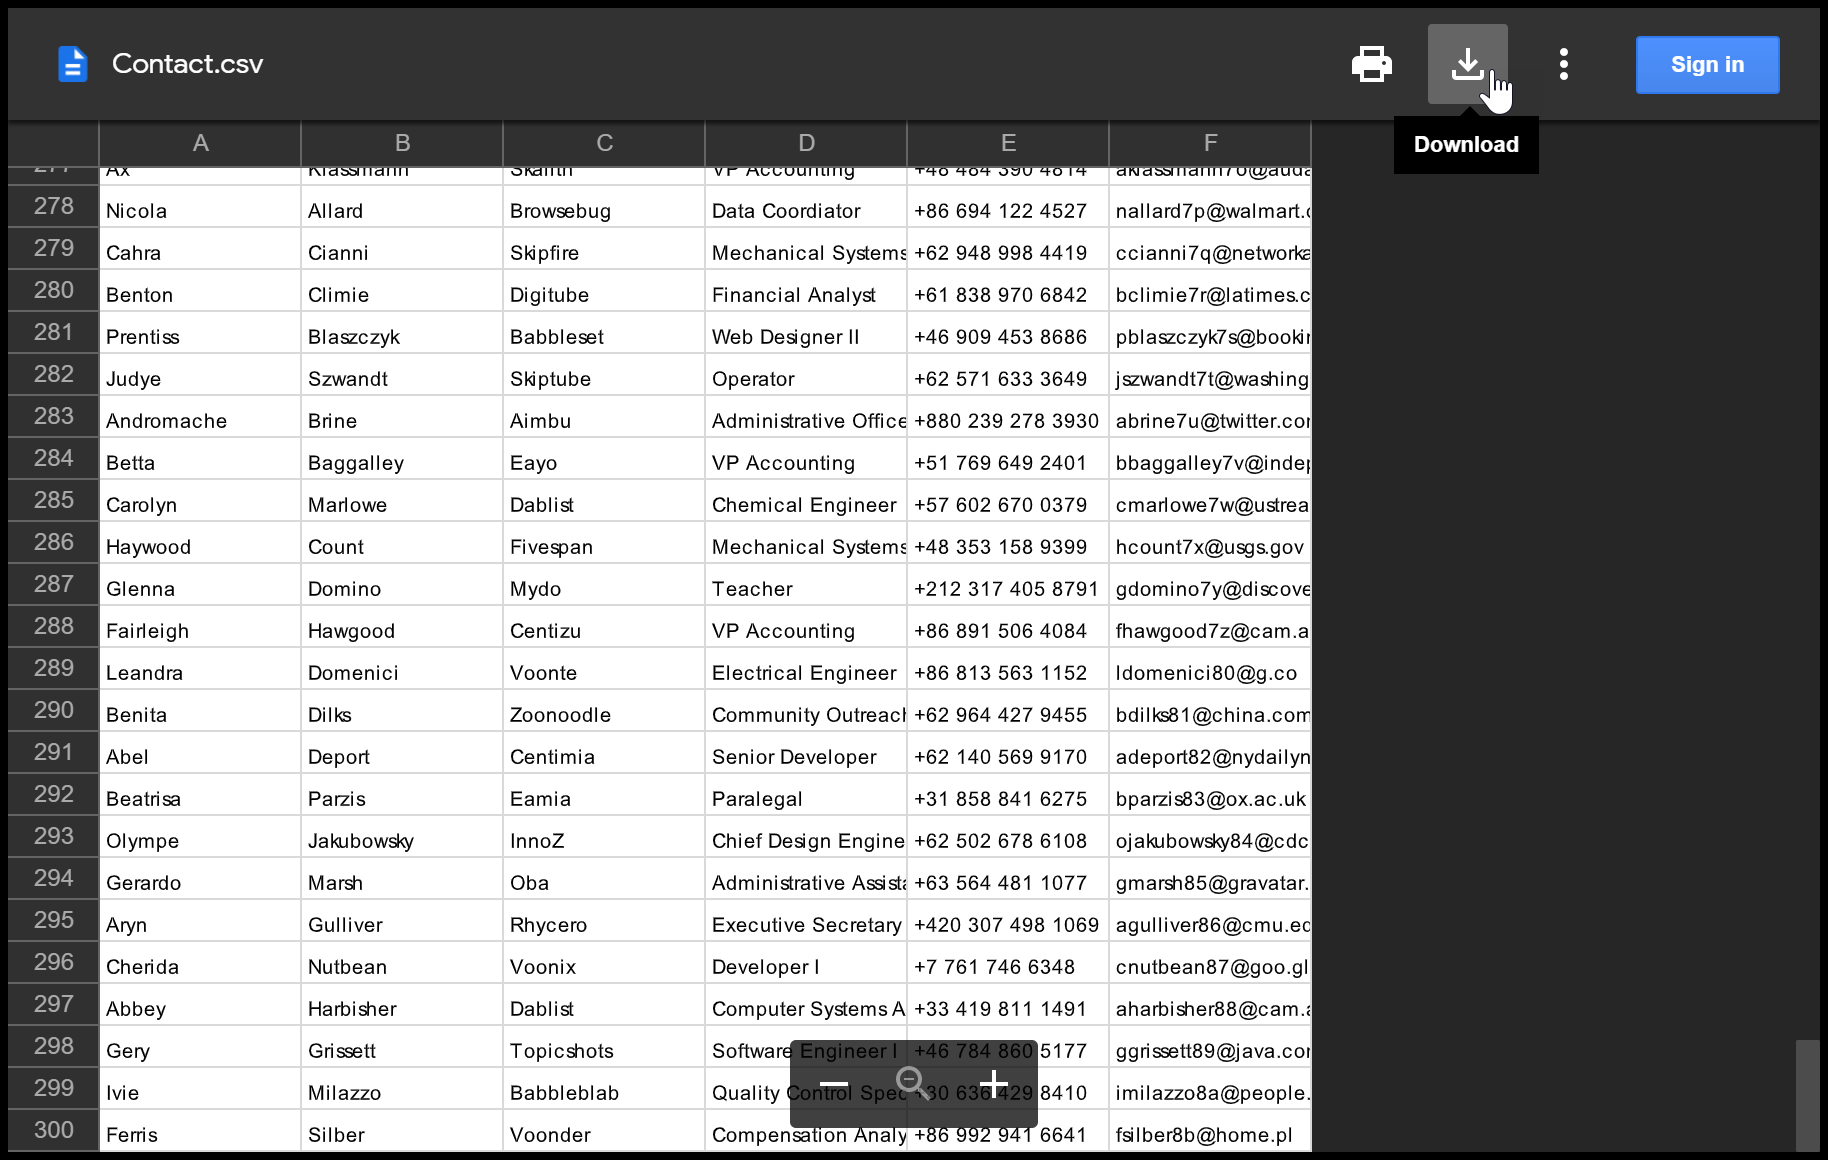
…and upload them into Static Resources as Account_csv and Contact_csv.

I used Mockaroo to create the above files. [Read about it here].
3. Write an Apex class:
global class PrepareMySandbox implements SandboxPostCopy {
    global void runApexClass(SandboxContext context) {

        /*
         * Insert sample Accounts
         */
        StaticResource accountStaticResource = [select Body from StaticResource
                                                where Name = 'Account_csv'];
        String accountCsv = accountStaticResource.Body.toString();
        Account[] accountList = new Account[] {};
        for(String row : accountCsv.split('\n')) {
            String[] column = row.split(',');
            accountList.add(new Account(
                Name = column[0],
                BillingState = column[1],
                Phone = column[2],
                Type = column[3]
            ));
        }
        insert accountList;

        /*
         * Use a Map to avoid creating an unnecessary External ID field on Account
         */
        Map<String, Id> accountMap = new Map<String, Id>();
        for (Account acc : accountList) {
            accountMap.put(acc.Name, acc.Id);
        }

        /*
         * Insert related Contacts
         */
        StaticResource contactStaticResource = [select Body from StaticResource
                                                where Name = 'Contact_csv'];
        String contactCsv = contactStaticResource.Body.toString();
        Contact[] contactList = new Contact[] {};
        for(String row : contactCsv.split('\n')) {
            String[] column = row.split(',');
            contactList.add(new Contact(
                FirstName = column[0],
                LastName = column[1],
                AccountId = accountMap.get(column[2]),
                Title = column[3],
                Phone = column[4],
                Email = column[5]
            ));
        }
        insert contactList;
    }
}
4. Write a Test class:
@isTest class PrepareMySandboxTest {
    @isTest static void testMySandboxPrep() {
        Test.startTest();
        Test.testSandboxPostCopyScript(
            new PrepareMySandbox(),
            UserInfo.getOrganizationId(),
            UserInfo.getOrganizationId(),
            UserInfo.getOrganizationName()
        );
        Test.stopTest();
        System.assertEquals(50, [select count() from Account]);
        System.assertEquals(300, [select count() from Contact
                                  where AccountId <> null]);
    }
}

5. Deploy to production:
Outbound Change Set in Dev1 Sandbox:

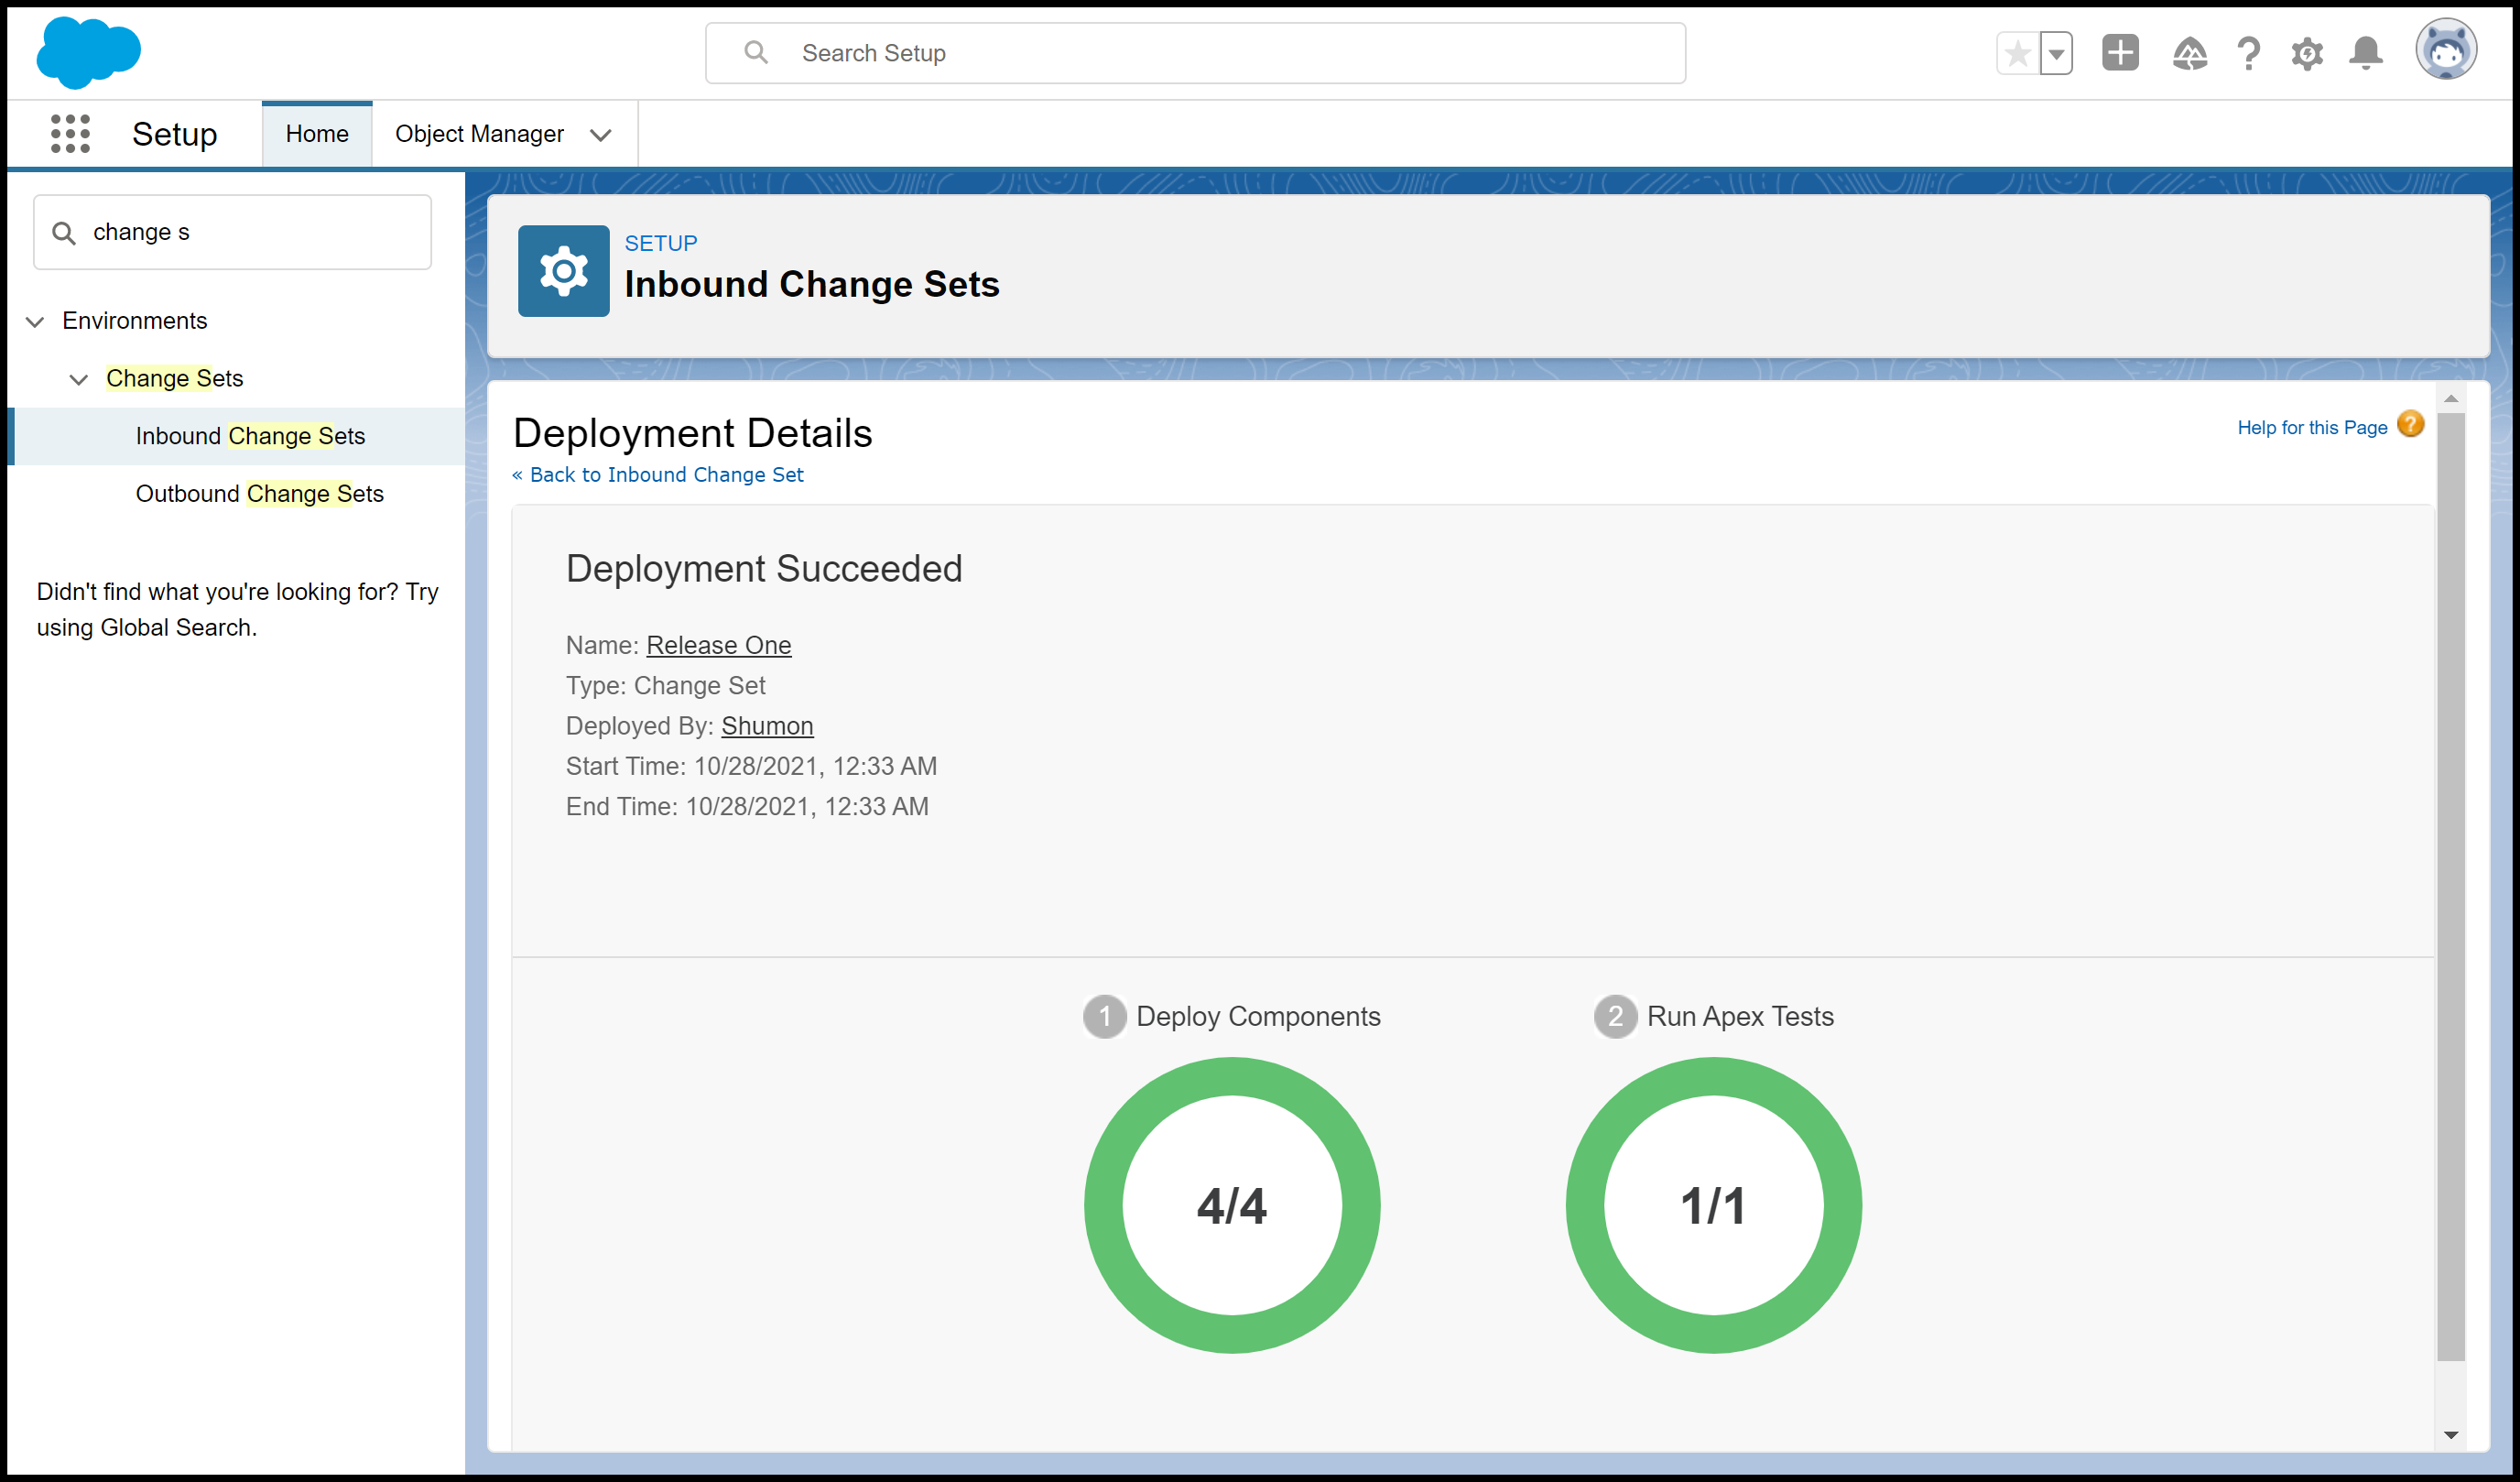
Inbound Change Set in Production:
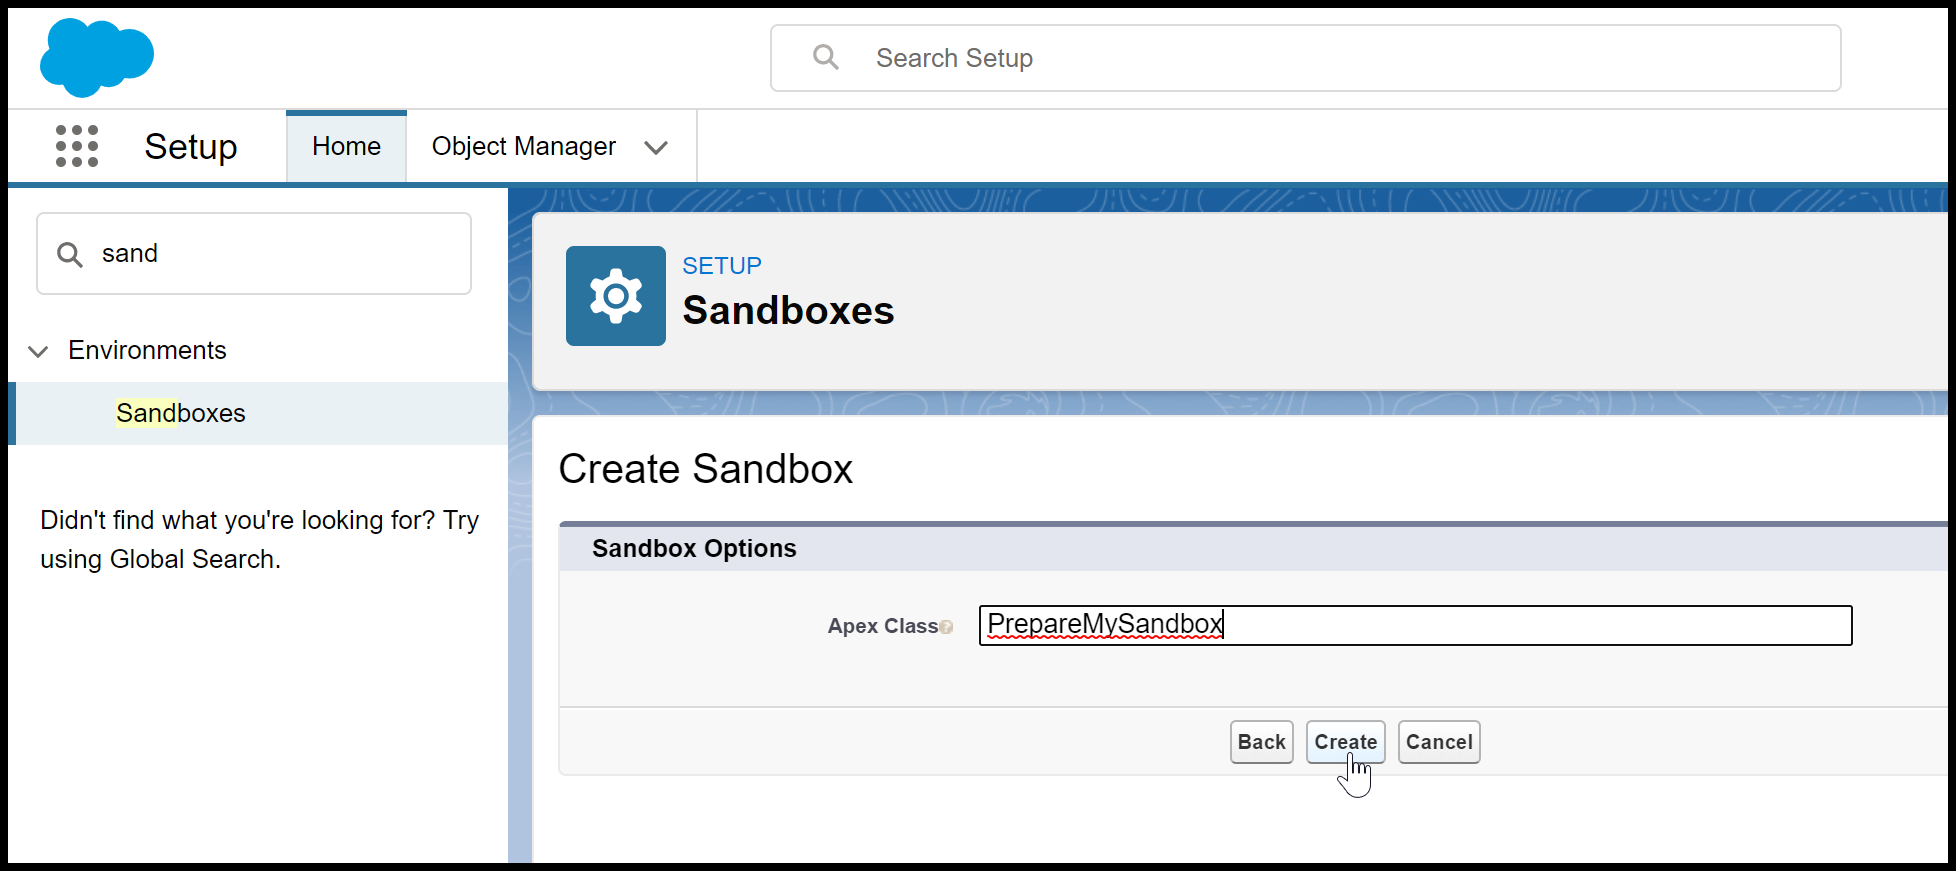
6. Finally, test it by creating or refreshing a sandbox ♻️
Now that everything is in production, we can finally test it by simply creating a sandbox, say Dev2.
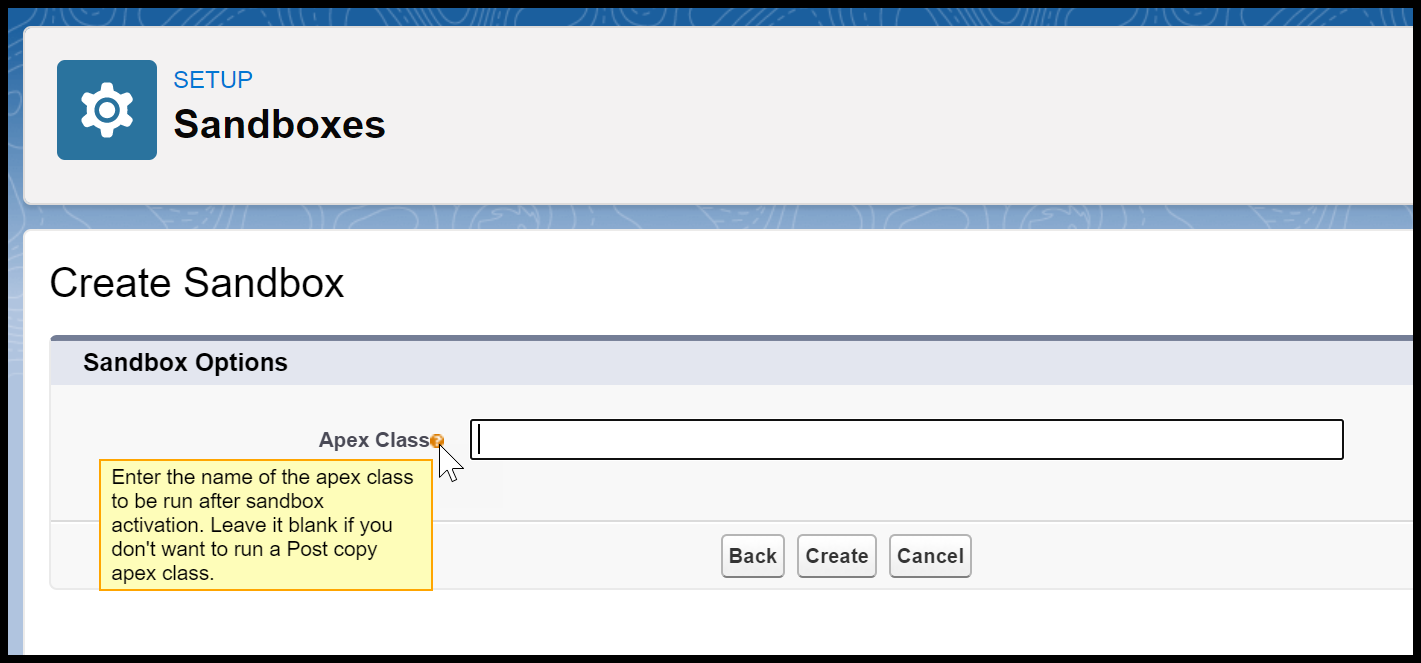
Don’t forget the Apex class:
And voilà! Sample Accounts and related Contacts in Dev2 – can things get any simpler?

Summary
This is a great way to populate your sandboxes with data. However, there are a few considerations to bear in mind:
- Watch out for runtime limits. Keep within a reasonable number of records.
- Watch out for dirty data. You have full control over the CSVs; it is not user input. Sanitise the CSVs and avoid redundant unnecessary Apex exception handling.
- Watch out for data skew. Disperse child records evenly among parent records.
- Watch out for the line ending character in Mockaroo. I used Unix (LF), which is the Mockaroo default, hence I split my lines using split(‘\n’). The other option is Windows (CRLF), hence split(‘\rn’).

- Watch out for the header row checkbox when downloading from Mockaroo. I uncheck it.
Data loading is one example of what we can achieve using the SandboxPostCopy. With a bit of creativity, more can be automated during a refresh, such as:
- Obfuscating or deleting sensitive fields in Full sandboxes (although if required for an extensive number of fields, you might want to purchase Salesforce’s Data Mask add-on or an AppExchange solution).
- Updating org-specific records in Custom Metadata Types or in Custom Settings.


Comments: