


myTrailhead enables businesses to build customized, gamified, bite-size learning for their employees, customers, and partners – all by leveraging Salesforce’s learning platform (Trailhead).
What is the best way to get started with myTrailhead? Read on to find out!
Define Your myTrailhead Strategy
It’s easy to just jump in and start writing the content you think your learners need, however, before you do this, focus on your strategy. Your planning will ensure you achieve what you have set out to do. Consider the following:
- What is your business looking to achieve and what does success look like?
- Who is the audience and what do they need to learn?
- Who are your team and what part will each person play?
- What is your release management strategy?
- When will you go live?
- How will you keep your content up to date?
Plan your myTrailhead Content
Yes, I’m afraid there is still more planning before you can get started! You now know who your audience is and, at a high level, what they need to learn. But what does this translate to in myTrailhead terms?
You will likely have different roles in your business with different learning requirements. Create a content outline for what each role needs to know. The best way to get started is to focus on the learning objectives for each area of learning. These will help define your content when you start writing, and your end of unit assessments.

myTrailhead content is structured in Trails and/or Trailmixes, Modules (which gain you a Badge!) and Units. Units are the smallest part – and this is where your content actually sits. You group your units into modules, and your modules into Trails or Trailmixes.
In your content outline, document the learning objectives for each unit and plan how those units map into your modules. There are some best practices – each unit should be between 500-1500 words, remember that we really want content to be bite-sized to ensure our learners can take the learning at their convenience and enable them to do small amounts at a time. Also, try and keep to between 2 and 5 learning objectives per unit – this will help you to keep to the bite-sized theme. We don’t want war and peace in a single unit.
Additionally, you need to keep to what your learners really need to know. It’s tempting to throw everything you have at your learners, but you want to ensure you don’t dilute your key message by including content that isn’t relevant to them.
Writing Great Content for myTrailhead
Yes! Finally, we’re ready to get writing. You have your team in place, which will include your talented content writers, so let’s get the tools in place to write the best content to engage our learners.
Firstly, write your content in a collaborative tool. You could stay with the Salesforce product suite and use Quip Documents, or GoogleDocs are also great for collaboration. You always work outside of the myTrailhead tools to write and finalise your content. Only when it is complete and finalised do you want to move it into Trailmaker, which is where your content is converted into myTrailhead learning.
Secondly, what makes your content great? Take a look at Salesforce’s Trailhead content – it is fun and engaging. It makes learners want more, and that’s how you want to write about your business too. Use analogies, write in a conversational style, tell a story and include the benefits. If I need to learn about creating Accounts, I’d really like to know why Salesforce and Accounts are making my life easier, and rather than just a click path, let’s bring it to life with a real-life scenario. Even better, let’s follow that storyline through the content to really draw our learners into our content and make it memorable.

Don’t forget, content isn’t just about writing. Think about your graphics – your learners will want to earn that badge so create some customized badge art! They’d love to see some short videos or infographics in the content, so add some of that too.
Content Conversion in Trailmaker
You’ve created your content, and you’re ready to publish it so the world can see it….well, your learners at least. It might all seem a bit daunting, but the fact is that you have already completed the hard work.
This is where the fun begins. Let’s focus on the technology that makes up myTrailhead!
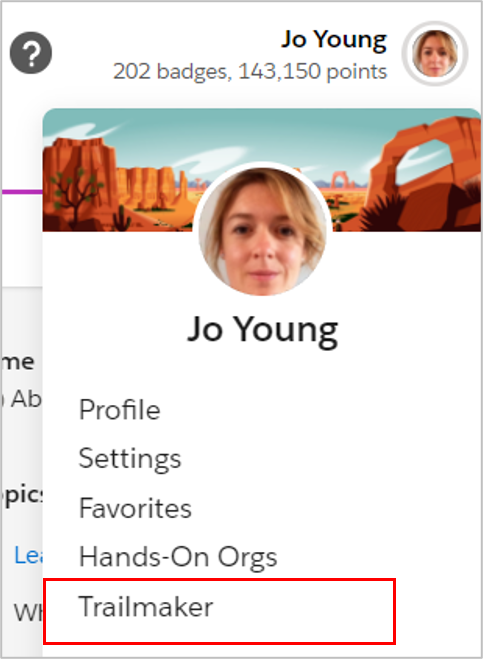
Trailmaker is the part of myTrailhead that converts your content into real-life Trails and Modules. Once you’ve logged into myTrailhead, just switch over to Trailmaker.
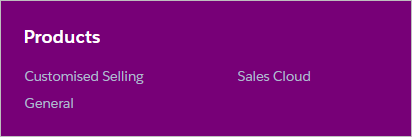
Before you convert your content, you can create customized product filters. Filters are a great way for your learners to find content relevant to them. You can create your own product (like Customised Selling), role (like Key Account Manager), and level filters and associate them with your content – when your learners click on those filters they will only see the content they need! Create your filters in the Settings tab in Trailmaker.
Now let’s convert some content. From the Content tab, click on Add Content and select whether you want to add a Trail or a Module. All trails and modules need badge art – make this your own by designing some great customized badges that fit your corporate brand and image.
The easy part is copying and pasting your finalized content into your Units in Trailmaker. The Toolbar allows you to format your content using a variety of options, which can make your content really engaging.

My favorites are:
- H2 – any writing which is in H2 format will appear as a topic in your published content – this displays as a hyperlink in the top right of your content, just like in standard Trailhead. This makes it really easy for learners to navigate your content.
- Note – you can easily call out any important tips or tricks, or just key points, by embedding it within a note.
- Block Quote – style a block of text to appear as a quote. Great for messages from key stakeholders.
- Insert Image – always use Insert Image to add your screenshots, as they often don’t copy and paste well and you may not find this out until you preview or publish. Remember that all images will need alt-text or you will get a warning when you publish, but it is easy to add in the toolbar that appears above your image.

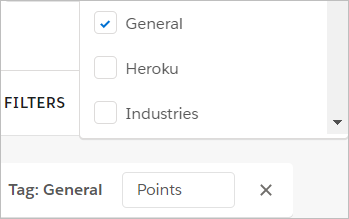
Finally, each unit needs to have points and a quiz. You add your points by selecting a Tag and entering the number of points your learner gains by completing the unit.
Your quiz is added by clicking on New Assessment at the top of your unit in Trailmaker. Don’t forget that your quiz questions should align closely with the learning objectives for the unit – as you should be testing that your learners have achieved what is required.
Content Publishing in Trailmaker
So, your content is ready. Now you add it to a release and publish. It’s actually very simple to do. In the Releases tab, create a new release for your newly created content.
From the Content tab, click on the arrow in the Actions column next to your Trail and Modules individually, and select Add to Release.

You’ll be prompted to download your content. These are called backpacks and you should always make sure you download a copy as your content workspace is unique to you, and others cannot see the content in it. You can share the content using a backpack and other people can import it into their content workspace if needed in the future. You’ll also see a link to preview the content. You can copy this and send it to your previewer so they can approve it before publishing.
If you are ready to continue, click on the Releases tab and click on the name of your Release. If you see any errors, you will not be able to publish. Warnings should be resolved, but you are able to continue and publish with warnings only.

You now see two options at the top of the Release: Preview and Publish. I’d always recommend previewing your content first, you never know when an image hasn’t rendered well, or you may have forgotten your H2 topics. If you do need to make any changes, you should remove your content from the Release and update it from the Content tab before adding it again. Don’t forget to download a new backpack!
If your content looks great, that’s when you publish. Your content is now out there for the world (ok, your learners) to see.
Summary

Our key takeaway is to focus on what you are trying to achieve early on. This is critical to a successful roll-out of myTrailhead as you will be focused on the key content required for each role, and avoid the temptation of moving every piece of content you have into myTrailhead.
We’ve taken you on a journey from content strategy and planning, to creating your masterpiece. The Trailmaker tool makes it easy to move your content into myTrailhead and get your learners engaged quickly. Just don’t forget those backpacks!
Trailhead Module – Writing For myTrailhead


Comments: