


Webinars are an excellent way to engage with prospects, grow customer relationships, and show off industry expertise.
In fact, you can read how we increased our webinar-influenced pipeline 78x in a year with no extra costs, just by rinsing and repeating a solid webinar process.
Yet, webinars aren’t always a breeze to pull off:
- From a promotional perspective, GoToWebinar and other platforms offer far fewer customizations than most email platforms making it difficult to brand and manage webinar invites.
- From a reporting perspective, things get worse. Few tasks are as frustrating as manually segmenting and importing registrants into a Salesforce campaign.
If you’re wondering how to link your GoToWebinar with Pardot, you’re in luck! This tutorial will help you master the Pardot GoToWebinar connector – and, as a result, eliminate most webinar woes, brand your campaign, and seamlessly send prospects to Salesforce (no import required)!
Step 1: Add the Connector
Before setting up your connector, be sure to read through considerations provided by Salesforce (familiarize yourself with sync time, especially).
Connect GoToWebinar with Pardot:
- Log in to Pardot. Navigate to: Admin → Connectors, then click Create New Connector.
- Next, click GoToWebinar in the webinars section and enter your username for GoToWebinar. Optionally, you can choose to create prospects in Pardot if they don’t already exist.
- Choose a campaign. Optionally, you can choose to pull historical webinars into Salesforce if you want to bring in records from before launching the connector.
- Click Verify Now to authorize your GoToWebinar account once the connector is saved.
Beware! In 2020, Pardot deployed changes to the connector that changed its behavior. If you have multiple organizers in GoToWebinar, you need to create one connector per organizer. Each connector will only see the webinars originally created by its designated user, but not the ones where that user is a co-organizer.
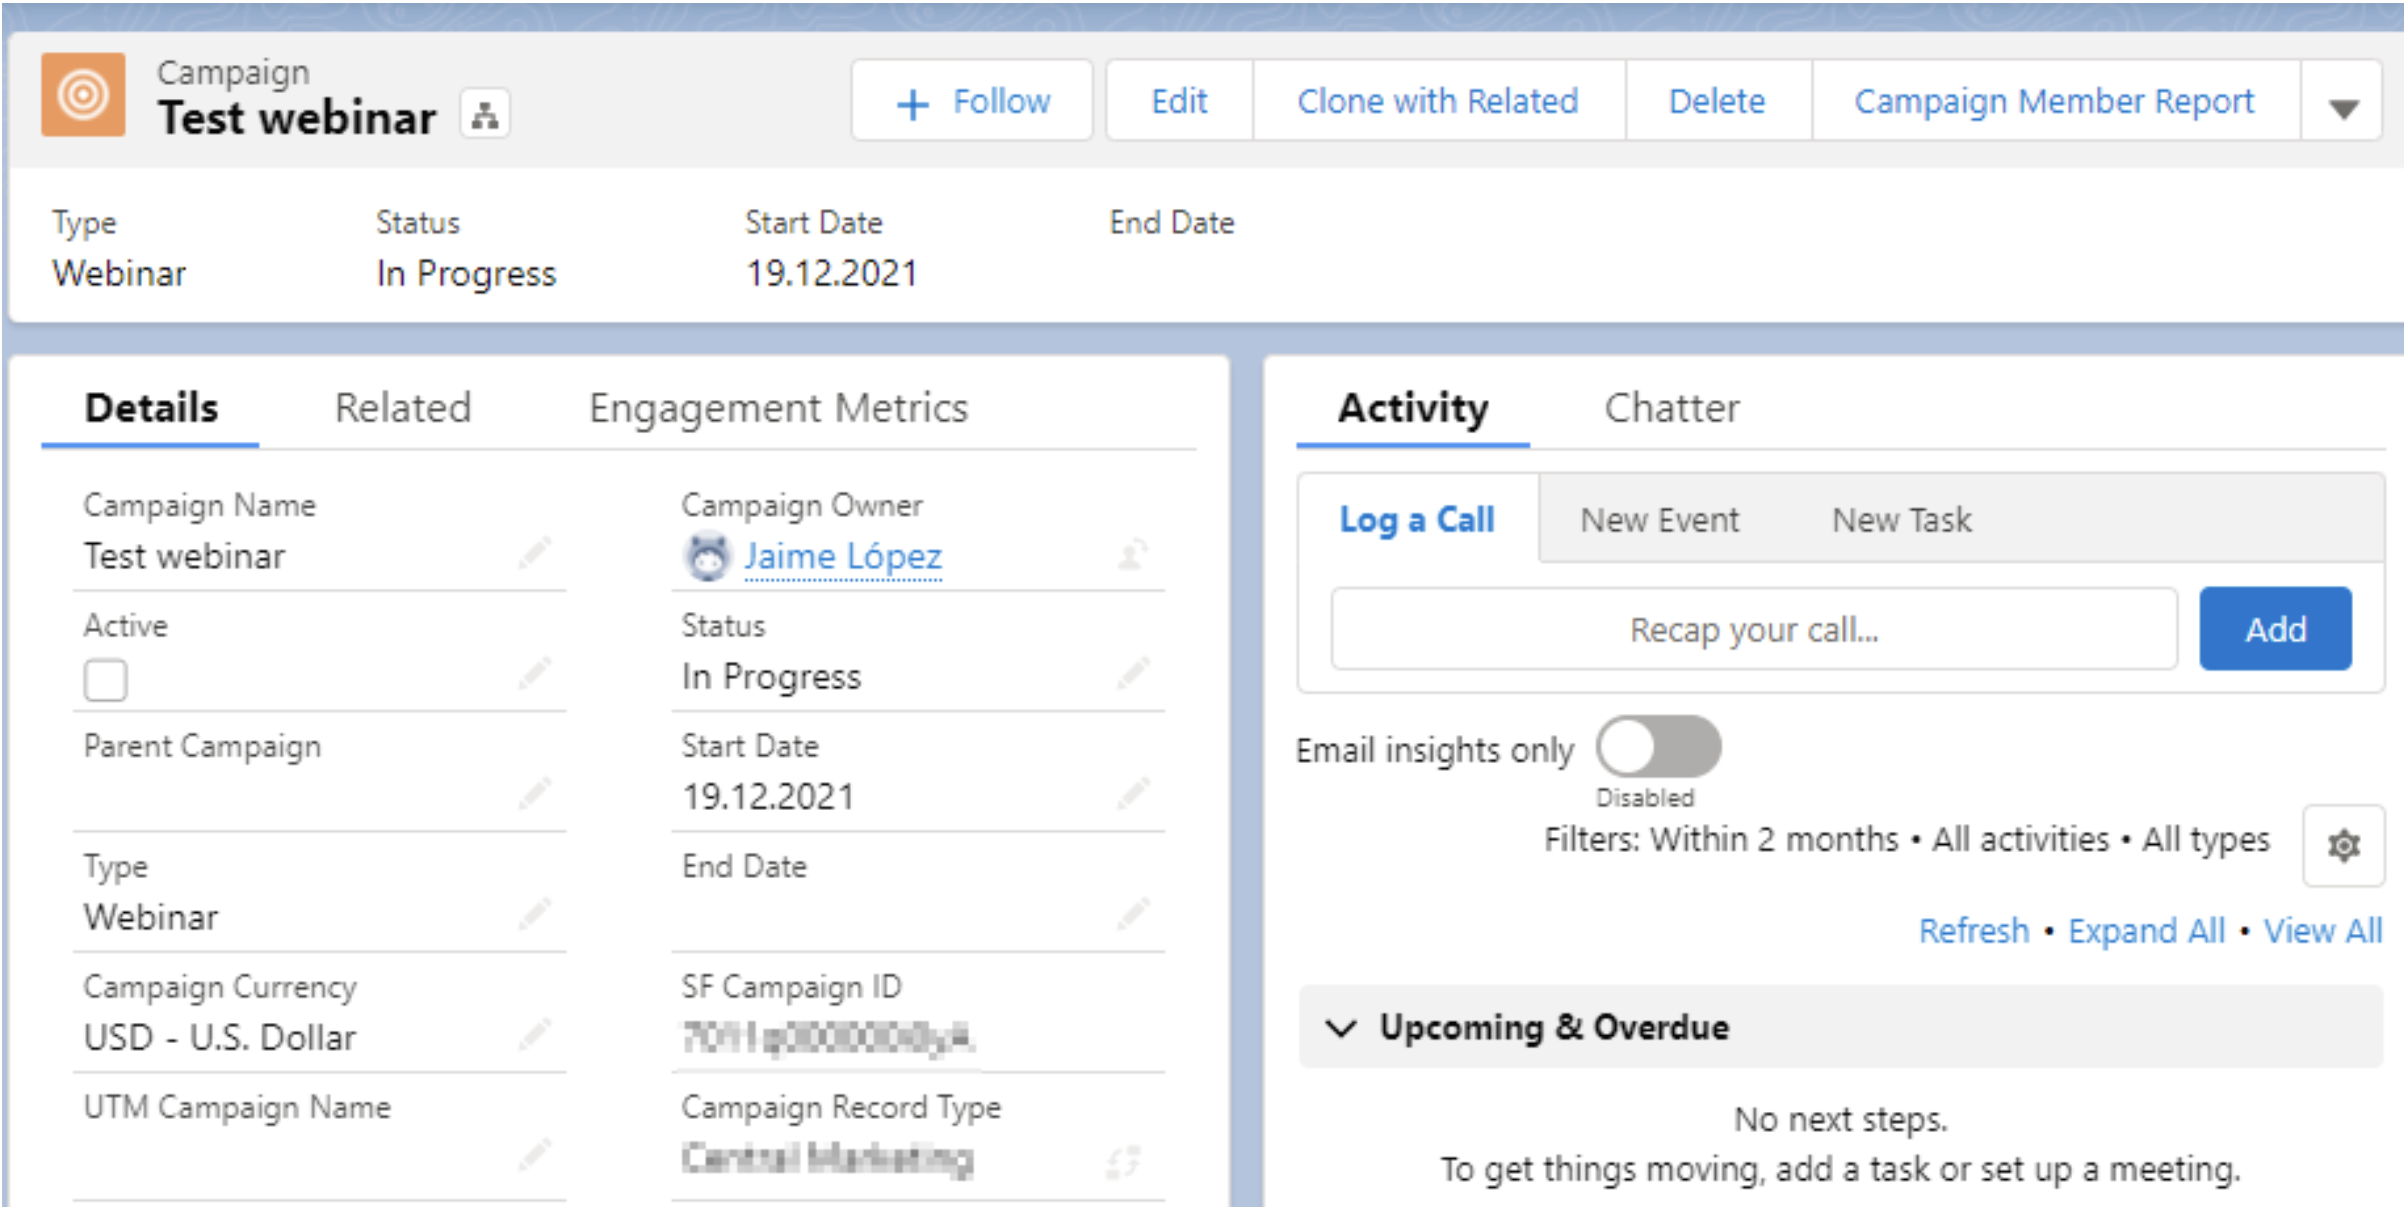
Step 2: Set up your Salesforce Campaign
Set up your Salesforce Campaign to prepare your webinar to sync with Salesforce.
- Log in to Salesforce, and go to your Campaigns tab.
- Create a campaign and name it for the webinar you are launching.
You will need to use a record type that is part of Connected Campaigns, that is, one that Pardot can see. My preference is to create a parent campaign for all activities related to this webinar, and then child campaigns for each of the individual touchpoints: Invitation email, reminder, post-webinar email, and the webinar itself.
Each of these can be of a different type, according to your own setup. Thanks to the Engagement History components, it will be easy for you to report later on the totality of the campaign just by clicking the “Include child campaigns” toggle on the parent campaign.
3. The Member Statuses I use for webinar campaigns are:
- Invited
- Registered
- Attended
- Watched recording
For the campaigns related to emails (like the invitation or the reminder), my preference is to name statuses according to the actions that a prospect may take. If you send out these emails in Pardot Engagement Studio, you can update the statuses there as well – which will leave you with very neat and easy reporting:
- Sent
- Delivered
- Opened
- Clicked
- Opted out
If you have done this before, your fastest route is to navigate to the campaign you used last time (where you set up the correct Member Statuses) and use the button Clone with Related. This will duplicate the campaign and carry over the member statuses so that you do not need to recreate them manually.
If you do not have pre-existing campaigns with the correct member statuses, go to the corresponding component and select Create new Member status.

- The default statuses should always be those that imply the prospect did not do anything (in our case, sent and invited). Each campaign must have only one default status.
- You’ll notice there is an attribute called Responded. This was often overlooked in the past, but nowadays it carries much more weight than it seems at first sight. The fantastic Pardot Einstein Attribution feature relies on this particular setting to decide whether campaign membership is taken into account for attribution purposes, or not. Only the statuses that represent real intent or engagement should be marked as ‘responded’. For example, if a prospect actually attended the webinar, I want the data-driven attribution model to consider that and calculate whether that had any influence on revenue generated by the prospect – here, I will mark that status as Responded.
(On the other hand, the member statuses of operational campaigns are never marked as Responded in my org – I don’t want to attribute revenue to whether the prospect simply exists in Pardot or whether they are suppressed from communications).
Step 3: Set up your Pardot form, landing page, and lists.
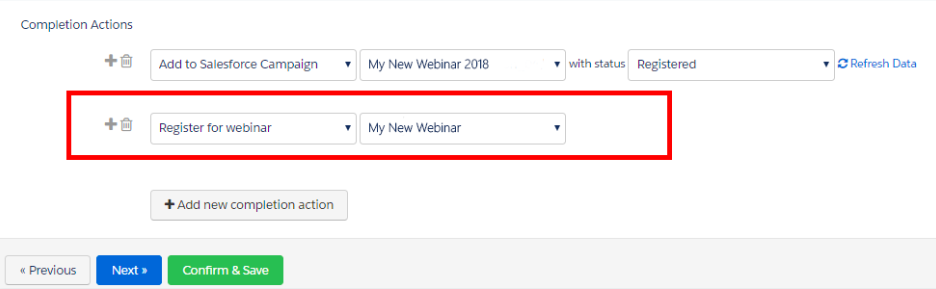
- Switch apps to Pardot via the App Launcher. Create a form for your webinar landing page and be sure to include the completion action (or Page Actions if you use forms for more than one landing page): Register for Webinar — [choose from the list of webinars that now populate from your GoToWebinar account].
- Add another completion action: “Add to Salesforce Campaign” — [find the campaign you just created in the previous step] — [select the status Registered]. This is a good time to change the Salesforce Campaign status of your webinar registrants!
- Navigate to Landing Pages to create a custom landing page for your webinar. Be sure to select the form you created previously to ensure submissions are synced with GoToWebinar.
As a best practice, I would highly recommend creating a Thank You page to which you can redirect registrants. This will come in handy later should you decide to gate the recording after the live webinar, and if you are using paid media to direct traffic to the webinar registration page, it will neatly work as your conversion signal.
3. Next, navigate to Automations → Segmentation Lists to create a dynamic list you can use to capture registrants. Under Dynamic List Rules, select Prospect Webinar, signed up for webinar, and then choose the webinar related to your campaign. Be sure to Run Rules when complete. You can use this list to suppress registrants from Pardot email campaigns or Engagement Programs inviting prospects to your webinar.

Note: while you will want to use Pardot to send follow-up emails to prospects who have not registered, you should continue to send any reminder emails to those who have registered from GoToWebinar. That’s because GoToWebinar creates a unique link join link for each webinar registrant that can only be provided by them and cannot be inserted into your Pardot emails. Fortunately, GoToWebinar provides lots of options and settings, so you can time reminder emails accordingly. And if you do gate your webinar recording as suggested earlier in this post, be sure to turn off GoToWebinar follow-up email options, so you can send them through Pardot.
Step 4: Update your records
- Following the webinar, log into Salesforce, navigate to the Pardot app (via the App Launcher), and go to Automations → Automation Rules.
- Create a rule to identify anyone who has attended the webinar and add to the Salesforce Campaign as Attended. This will update the member status in Salesforce campaigns so you can easily see who attended vs registered. Note that this will NOT duplicate campaign members. It will only update them.
- Alternatively, you can save the hassle of automation rules and do most of these actions in one go with a Pardot Engagement Program – we will cover this in a subsequent post (?). Having a true-and-tested program for this is a gift that keeps on giving because it saves you time and worry. It allows you to copy it in a couple of clicks to set up the next webinar with no extra effort. This is a primary reason why Wärtsilä were able to go from 4 to over 100 webinars delivered per year!
And voila! You have now launched a customized, export-free webinar campaign. And you didn’t have to open one CSV file!
Comments: